Executive Summary
A digital kiln controller is useful, but it is not the final authority on what happened inside your kiln. Witness cones are.
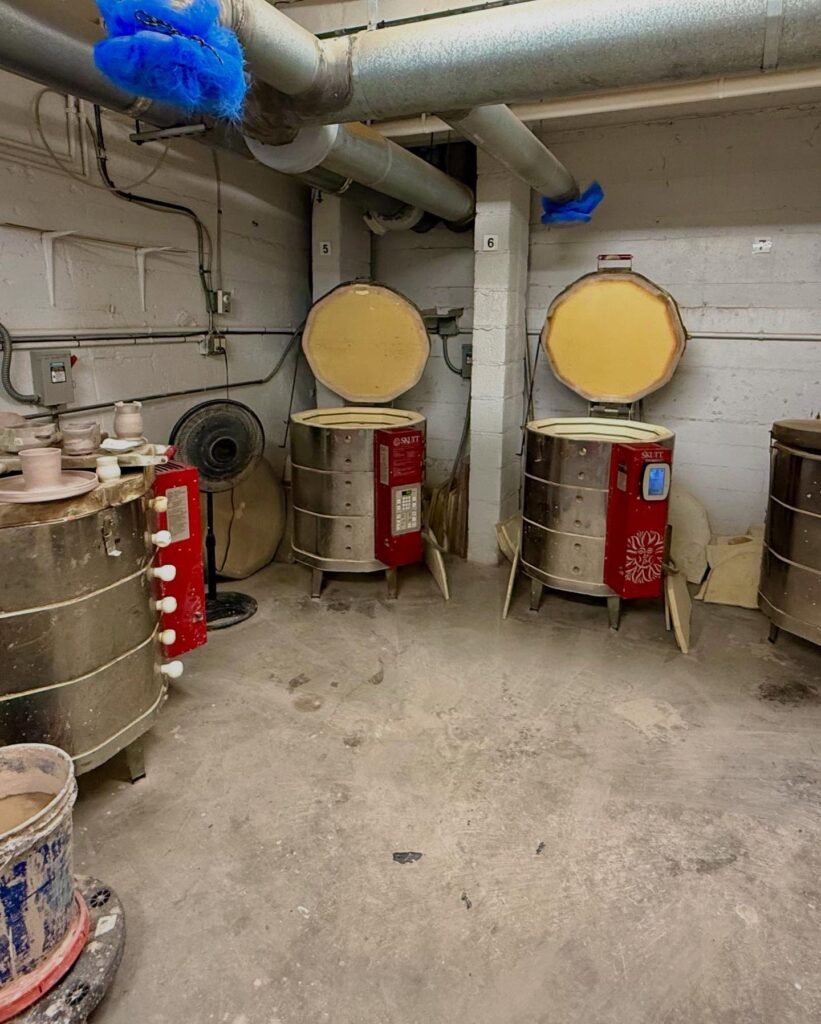
A witness cone is a small pyrometric cone placed inside the kiln beside your ware. It bends in response to heatwork—the combined effect of temperature and time—not simply a temperature reading. That makes it one of the most dependable ways to confirm whether clay and glaze received the firing you intended.
For home potters, schools, community studios, and production ceramicists, witness cones are inexpensive insurance. They help identify hot and cool areas, confirm whether a firing reached maturity, catch changes in kiln performance, and give you evidence before you adjust a controller or blame a glaze.
Quick Answer
Do you need witness cones with a digital pottery kiln? Yes. A controller measures temperature at its thermocouple. Witness cones show the heatwork experienced where your pottery actually sits.
Use self-supporting witness cones or properly mounted large cones during both bisque and glaze firings. Place them where they can be viewed through a peephole after firing or where they can be inspected when the kiln cools. For the clearest picture of kiln performance, place cone packs on more than one shelf.
Key Takeaways
- A kiln’s display temperature is not the same as heatwork.
- Witness cones verify whether your clay and glaze received the intended firing.
- Self-supporting cones are the easiest choice for most electric-kiln users.
- A three-cone pack includes a guide cone, firing cone, and guard cone.
- Place cones where they represent the ware—not hidden behind a post or pressed against the kiln wall.
- Use cones regularly, especially after replacing elements, thermocouples, relays, or firing-program settings.
- Do not make major controller adjustments after one firing without checking loading, cone placement, and firing conditions.
- Witness cones are a low-cost kiln supply that can prevent expensive glaze and production mistakes.
Table of Contents
- What witness cones are
- Heatwork explained
- Why digital controllers still need cones
- Types of pyrometric cones
- How to choose the correct cones
- How to place and read cone packs
- The nine ways cones prevent bad firings
- Troubleshooting hot and cool results
- Buying, storage, and maintenance advice
- Frequently asked questions
What Are Witness Cones?
Witness cones are pyrometric cones placed inside a kiln to record the amount of heatwork a firing delivers. They are made from carefully controlled ceramic materials that soften and bend after reaching a particular combination of time and temperature.
They are called “witness” cones because they witness the firing where the pottery is located.
That distinction is important. A thermocouple measures temperature at one location. A controller uses that reading to manage the program. But the kiln chamber can still vary from top to bottom, front to back, or shelf to shelf. Loading density, shelf placement, element condition, room temperature, hold time, and airflow can all influence the result.
[Hero Image — ALT: Self-supporting witness cones positioned on a kiln shelf beside ceramic bowls]
The Orton Ceramic Foundation explains that large and self-supporting pyrometric cones measure temperature uniformity and whether the ware received sufficient heatwork to mature properly. In other words, cones help answer the practical question every potter cares about: “Did this firing actually do what I intended?”
Heatwork: Why Temperature Alone Is Not Enough
Heatwork is the combined effect of temperature and time at temperature.
A kiln that climbs rapidly to a target temperature can produce a different result than a kiln that reaches a similar peak more slowly or holds there longer. That is why glaze recipes and clay bodies specify cone ranges rather than one exact temperature.
For example, cone 6 is not simply a number on a display. It represents a particular amount of heatwork. The final result changes with firing speed and hold time. A controller may say it completed a cone 6 program, yet witness cones can reveal that the kiln fired slightly cool, slightly hot, or unevenly from shelf to shelf.
Temperature vs. Heatwork
| Measurement | What it tells you | What it cannot confirm alone |
|---|---|---|
| Controller display | Temperature at the thermocouple | Whether every shelf received equivalent heatwork |
| Programmed cone value | The intended firing target | Whether the actual load matured correctly |
| Witness cone | Heatwork at its shelf location | Exact temperature at every second of firing |
| Finished glaze appearance | A clue about maturity | The reason behind a defect |
This is why experienced potters keep firing records. Witness cones provide objective evidence that helps separate a kiln issue from a glaze issue, a loading issue, or a clay-body issue.
Why Use Witness Cones With a Digital Kiln?
Digital controllers are precise tools, but they are not magic. They need calibration, proper programming, functioning thermocouples, healthy elements, and a kiln environment that matches the assumptions behind the firing program.
Skutt recommends using self-supporting witness cones on every firing to monitor kiln accuracy. That recommendation is practical because kiln performance changes over time.
Elements age. Thermocouples drift. Relays wear. A firing program may be entered incorrectly. A heavily loaded shelf can behave differently from a lightly loaded shelf. A new vent system or a different clay body can change what you see.
Witness cones give you a reference point before a small performance change becomes a batch of underfired glazes, overfired shelves, warped ware, or lost production time.
[Feature Close-up — ALT: Digital kiln controller beside a cone pack visible through a kiln peephole]
Read The KILN DEPOT’s kiln peephole guide to understand how peepholes can help you view cone packs safely when used according to your kiln manufacturer’s instructions.
Types of Pyrometric Cones
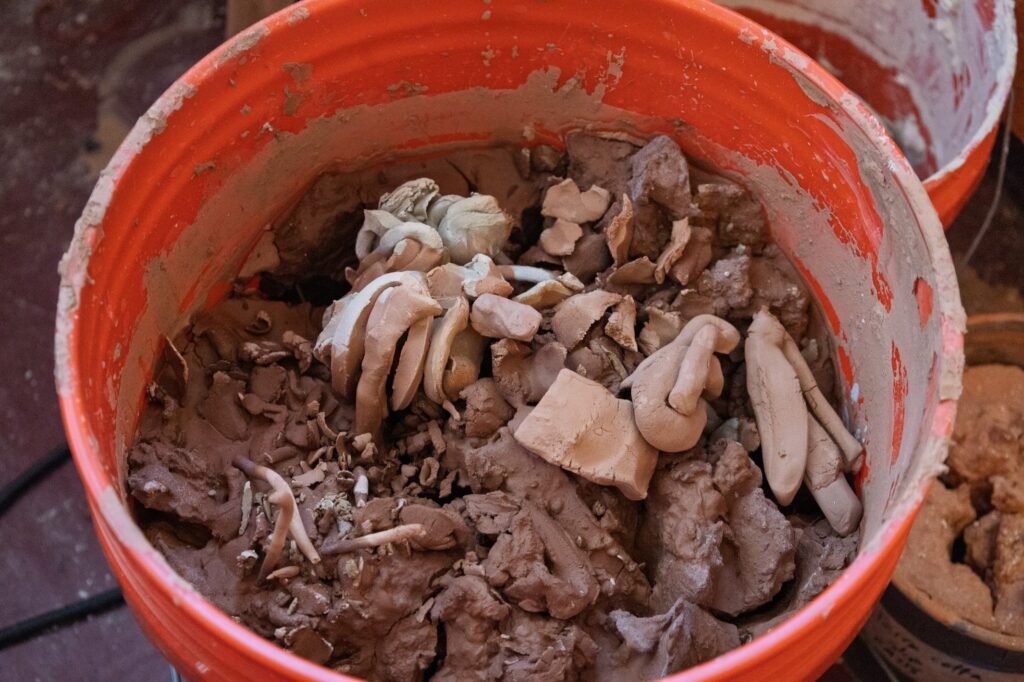
Not every cone is intended for the same job.
Self-Supporting Witness Cones
Self-supporting cones have a built-in base and sit directly on a kiln shelf. They are the simplest option for most potters because they are already positioned at the angle needed for interpretation.
They are ideal for:
- Digital-kiln users
- Home studios
- Schools
- Test firings
- Glaze and bisque verification
- Multi-shelf heatwork checks
Large Cones in Plaques
Large cones can be mounted in a reusable clay or ceramic plaque. They are also used to measure heatwork, but they must be installed at the correct angle and height. This gives the user flexibility but adds an extra setup step.
Small and Bar Cones
Small and bar cones are commonly associated with mechanical kiln sitters. They are not the same thing as witness cones placed beside your pottery.
If your kiln uses a mechanical kiln sitter, follow the kiln manufacturer’s instructions for the correct sitter cone. Still use witness cones in the chamber to verify the actual firing result.
The Three-Cone Pack
A three-cone pack includes:
- Guide cone: One cone cooler than your target
- Firing cone: Your intended cone
- Guard cone: One cone hotter than your target
For a cone 6 glaze firing, a typical pack might include cone 5, cone 6, and cone 7. The guide cone should bend first. The firing cone should reach its expected bend. The guard cone should remain mostly upright.
This gives you more information than a single cone. If the guide and firing cone are both completely down while the guard cone is bending significantly, the kiln likely fired beyond your intended heatwork.
How to Choose the Right Witness Cones
Start with the firing target specified by your clay body, glaze, or firing schedule.
For Low-Fire Bisque
Many low-fire bisque schedules use a cone such as 04, but the correct target depends on your clay body and studio process. Do not choose a cone based on what another potter uses. Confirm the manufacturer’s recommended bisque range.
For Mid-Fire Glaze
Cone 5 and cone 6 are common mid-fire glaze targets, but they are not interchangeable. Use the cone specified by the glaze and clay manufacturers, then verify the actual result with witness cones.
For High-Fire Stoneware and Porcelain
Cone 9 or cone 10 may be appropriate for certain clay bodies and glazes. These firings place greater demands on equipment, shelves, kiln wash, loading, and electrical performance. Confirm your kiln is rated for the target cone before programming it.
For Every Firing
Use the same cone number as your intended target in the center of the three-cone pack. Add one lower guide cone and one higher guard cone.
| Intended firing | Suggested cone pack |
|---|---|
| Cone 04 bisque | 05, 04, 03 |
| Cone 6 glaze | 5, 6, 7 |
| Cone 10 glaze | 9, 10, 11 |
Always confirm the cone numbers and firing range for your specific materials. Cone values are not universal substitutes for checking clay and glaze documentation.
How to Place Witness Cones Correctly
Good cones placed badly can still give poor information.
Place cones on a kiln shelf near the ware. Avoid placing them directly against the kiln wall, directly under a shelf edge, behind a large piece, or in a spot that is not representative of the load.
Skutt’s loading guidance recommends positioning witness cones near the thermocouple if using only one cone. For a more complete picture, use cone packs on multiple shelves.
A Practical Placement Plan
For a small kiln:
- Place one cone pack on the middle shelf near the thermocouple.
- Keep it visible and unobstructed.
- Record the result after every firing.
For a medium or large kiln:
- Place one pack near the top shelf.
- Place one pack near the middle shelf.
- Place one pack near the bottom shelf.
- Keep each pack near ware rather than at an empty edge.
[Comparison Table — ALT: Diagram comparing correct and incorrect witness cone placement inside a pottery kiln]
Correct vs. Incorrect Cone Placement
| Correct placement | Why it works | Incorrect placement | Why it misleads |
|---|---|---|---|
| Near representative ware | Reflects the actual load | Hidden behind a tall pot | May not reflect normal heat circulation |
| Near the thermocouple | Helps compare controller and cone result | Pressed against the wall | May experience different radiant heat |
| Upright on a stable shelf | Makes reading easier | Leaning or unstable | Cannot be interpreted reliably |
| Visible through a peephole where appropriate | Allows safe observation | Directly in the peephole opening | Can interfere with viewing and airflow |
Do not place cones where they could touch ware or collapse onto glaze. Keep them far enough from the kiln wall and other objects to be read clearly after firing.
How to Read Witness Cones
A properly fired witness cone bends toward the shelf as it reaches its intended heatwork. The tip should move downward in a controlled, recognizable curve.
The guide cone bends first. The firing cone is the primary indicator. The guard cone tells you whether the firing went too far.
What the Results Usually Mean
| Cone result | Likely interpretation | Next step |
|---|---|---|
| Guide bends, firing cone bends correctly, guard remains upright | Target heatwork achieved | Record the firing and repeat the process |
| Firing cone is too upright | Underfired | Check program, hold time, elements, load, and thermocouple |
| Firing cone bends too far and guard starts bending | Overfired | Review target, hold, cone offset, and controller settings |
| Top, middle, and bottom cones differ | Uneven heatwork | Review loading, shelf spacing, element condition, and vent setup |
| Cone result changes suddenly from prior firings | Possible equipment or process change | Investigate before making large corrections |
A cone should not be judged by casual appearance alone. Use a cone chart or template if you need consistent documentation. The goal is not to chase perfect visual symmetry after every firing; it is to understand your kiln’s normal behavior and identify meaningful changes.
The 9 Smart Ways Witness Cones Prevent Bad Firings
1. They Confirm the Controller’s Result
A controller can indicate completion while the cone shows that the ware fired cooler or hotter than expected. Cones provide the independent check.
2. They Reveal Hot and Cool Zones
A three-shelf cone test can show whether the top, middle, and bottom of your kiln behave differently. This helps you place sensitive glazes or adjust loading practices.
3. They Protect New Kiln Owners
A new kiln still deserves a test firing. Witness cones establish a baseline before you trust a favorite glaze, a customer order, or a full load of work.
4. They Catch Aging Elements
As elements wear, a kiln can struggle to maintain the intended rate near the end of a firing. Cone results can reveal a gradual change before it becomes a major problem.
5. They Help Diagnose Thermocouple Drift
If the controller reading and cone result no longer agree with prior firings, the thermocouple may need inspection. Do not assume it is the only possible cause; investigate the full system.
6. They Verify Changes to Firing Schedules
Adding a hold, changing firing speed, or programming a custom ramp-and-hold schedule changes heatwork. Cones show what those changes did in the kiln.
7. They Reduce Guesswork With Glaze Defects
A dry, underdeveloped glaze may be a glaze application problem, a clay-body issue, or insufficient heatwork. Witness cones give you one crucial piece of evidence before reformulating anything.
8. They Improve Classroom Consistency
In schools and community studios, multiple users and frequent firings make recordkeeping especially valuable. Cone packs help create repeatable standards across instructors, loads, and semesters.
9. They Provide a Record for Troubleshooting
A firing log that includes date, clay body, glaze, program, hold, load type, cone results, and observations becomes a powerful studio tool. It turns vague impressions into usable data.
Buying Guide: What Witness Cones Should You Buy?
For most electric pottery kilns, buy self-supporting witness cones in the range you use most often.
A simple starter supply might include:
- Cone 04, 05, and 03 for a common low-fire bisque workflow
- Cone 5, 6, and 7 for a cone 6 glaze workflow
- Cone plaques if you prefer mounted large cones
- A cone chart or template for consistent reading
- A firing logbook or digital record
[Buying Checklist — ALT: Pottery kiln witness cone checklist with self-supporting cones, cone chart, kiln shelves, and firing log]
Choose Self-Supporting Cones If:
- You want fast, repeatable setup.
- You run a digital kiln.
- You teach students or manage a shared studio.
- You do not want to build clay plaques for every firing.
- You want to eliminate angle-placement errors.
Choose Mounted Large Cones If:
- You already use reusable cone plaques.
- You are comfortable setting the correct cone angle.
- You need a particular studio workflow or cone system.
Avoid These Buying Mistakes
- Buying only the target cone and skipping guide and guard cones.
- Using small sitter cones as if they were witness cones.
- Buying a broad assortment before identifying your actual firing range.
- Storing cones in a damp or dirty area.
- Forgetting that cone numbers increase in the opposite direction across certain low-fire ranges.
- Assuming a cone 6 clay body can be fired safely to cone 10.
- Treating a controller display as a replacement for a cone pack.
Maintenance, Storage, and Ownership Costs
Witness cones are consumable firing supplies. They are inexpensive, but they should be stored with care.
Keep them dry, clean, and in labeled containers. Avoid dropping them, mixing cone numbers, or leaving them where clay dust and moisture can contaminate the box.
The ownership cost is low. The true expense comes from not using them: an overfired kiln shelf, a damaged kiln wash surface, a failed glaze load, or a misdiagnosed equipment problem can cost far more than a regular supply of cones.
Pair cones with well-maintained kiln furniture. Review The KILN DEPOT’s kiln furniture guide and replacement kiln shelf guide before loading heavy or high-fire work.
Common Witness-Cone Problems
My Cone Did Not Bend
Check whether you used the correct cone number, placed it correctly, and ran the intended firing program. If the firing cone remains upright when it should have bent, investigate the program, elements, thermocouple, loading, and controller before making any calibration change.
My Cone Bent Too Far
Review the cone target, hold time, programmed speed, cone offset, and whether the kiln was loaded unusually lightly or heavily. Do not assume the controller is wrong until you compare the result with a documented prior firing.
My Top and Bottom Cones Look Different
Some variation is normal, but a pronounced difference can indicate loading, shelf spacing, element condition, venting, or heat-distribution issues. Use multiple firings and cone packs before drawing conclusions.
My Cone Fell Over
A fallen cone is difficult to interpret. Use a stable shelf, keep the cone away from vibration or crowded ware, and make sure self-supporting cones sit flat. Replace the cone in the next firing rather than guessing.
Frequently Asked Questions
1. What are witness cones used for?
Witness cones verify the heatwork that pottery receives during firing. They help confirm whether the kiln fired to the intended maturity.
2. Do I need witness cones with a digital controller?
Yes. A digital controller measures temperature at its thermocouple, while witness cones show heatwork at the shelf where the ware sits.
3. What is the difference between a witness cone and a kiln-sitter cone?
Witness cones are placed in the firing chamber to verify heatwork. Kiln-sitter cones are used in a mechanical shutoff device.
4. What are self-supporting witness cones?
They are cones with built-in bases that stand at the correct angle on a kiln shelf without a plaque.
5. Which cones should I use for cone 6 firing?
Use a cone 5 guide, cone 6 firing cone, and cone 7 guard cone, unless your firing process requires another documented setup.
6. How many cone packs should I use?
Use at least one pack. For a fuller picture of kiln performance, use packs on the top, middle, and bottom shelves.
7. Where should witness cones go in a kiln?
Place them near representative ware, preferably near the thermocouple if using one pack, and where they are not blocked by pots, shelves, or posts.
8. Can witness cones touch the kiln wall?
Avoid placing cones against the kiln wall. They should sit in a representative, clear location on the shelf.
9. Can I reuse witness cones?
No. Witness cones are single-use firing indicators.
10. Why is my kiln display different from the cones?
The controller measures temperature at one point. Cones record heatwork on the shelf. Differences can result from loading, firing speed, hold time, element condition, thermocouple behavior, or kiln variation.
11. Should I use witness cones for bisque firing?
Yes. They help verify your bisque target and establish consistent firing records.
12. Should I use witness cones for glaze firing?
Yes. Glaze maturity depends heavily on heatwork, making witness cones especially valuable.
13. What does an underfired witness cone look like?
It remains more upright than expected. The firing cone has not bent enough to indicate the intended heatwork.
14. What does an overfired witness cone look like?
It bends farther than expected, and the guard cone may begin to bend as well.
15. Are cone temperature charts exact?
They are useful references, but cone behavior depends on firing rate and heatwork. Do not treat one listed temperature as universal.
16. Do witness cones work in gas kilns?
Yes, but placement and atmosphere considerations differ. Follow the kiln and cone manufacturer’s guidance.
17. Can I see witness cones through a peephole?
Often, yes, if they are placed appropriately and your kiln manufacturer permits viewing during firing. Follow safe operating instructions.
18. How often should I use witness cones?
Use them every firing when possible, especially for valuable work, new programs, studio changes, and troubleshooting.
19. Do I need to calibrate my kiln after every cone difference?
No. Confirm the issue over more than one firing and investigate loading, programming, and equipment condition before making adjustments.
20. What else should I buy with witness cones?
Useful kiln supplies include kiln wash, shelves and posts, a firing log, compatible kiln furniture, and basic maintenance tools approved by the manufacturer.
Glossary
Cone pack: A group of guide, firing, and guard cones used to assess a firing.
Firing cone: The cone that represents the intended heatwork target.
Guide cone: A cone one step cooler than the target; it should bend before the firing cone.
Guard cone: A cone one step hotter than the target; it helps indicate overfiring.
Heatwork: The combined effect of temperature and time on ceramic materials.
Pyrometric cone: A ceramic indicator that bends at a particular amount of heatwork.
Self-supporting cone: A witness cone with an integrated base that sits on a kiln shelf.
Thermocouple: A sensor that measures kiln temperature for the controller.
Related Articles
For a stronger kiln workflow, continue with The KILN DEPOT’s guide to kiln peepholes, kiln shelf spacing, kiln furniture, and choosing your first pottery kiln.
Final Verdict
Witness cones are one of the least expensive and most valuable tools in a pottery studio. They verify the firing where it matters: beside your ware.
Use a three-cone pack, place it thoughtfully, record the result, and compare it over time. Whether you fire in a small home kiln, teach a ceramics class, or operate a busy production studio, witness cones turn uncertainty into useful information.
Shop Kiln Supplies at The KILN DEPOT
Build a more reliable firing process with the right witness cones, kiln furniture, shelves, posts, kiln wash, and ceramic firing supplies. The KILN DEPOT can help you select the equipment and accessories that fit your kiln, clay body, firing temperature, and studio goals.
