Making pottery mug handles comes down to three real steps. Shape the handle, score both surfaces, then attach with slip while everything’s leather-hard. Comfort matters just as much as looks here, since a handle gets held every single day. This guide covers the real technique and the sizing rule most guides skip. It also covers how to avoid the crack that ruins so many finished mugs.
Making Pottery Mug Handles: Get the Timing Right First
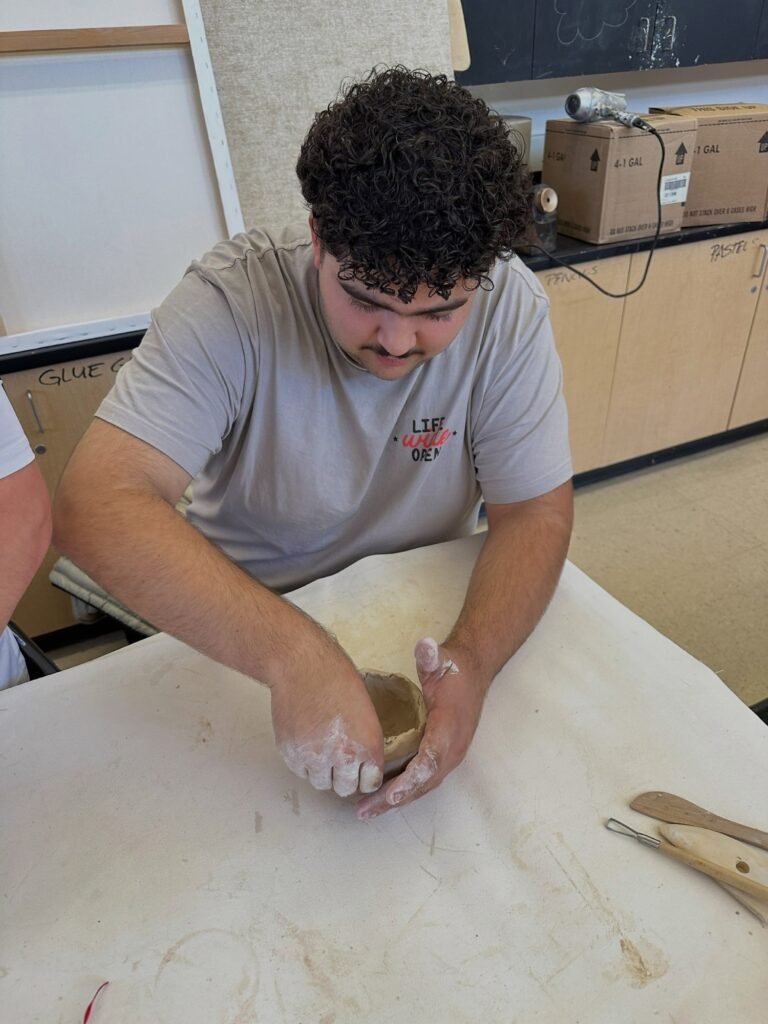
Your mug body needs to be leather-hard before you attach a handle. It should feel firm enough to hold its shape, but still soft enough to bond properly. A handle made from the same clay body matters here too. Mismatched clay shrinks at different rates and can crack later.
Wedge your handle clay first to remove trapped air bubbles. This single step prevents a real, common cause of handles cracking during drying or firing.
Shaping the Handle Itself
Roll or pull your clay into a coil that’s skinny in the middle and thick on both ends. Most beginners naturally roll coils this way already, so this part usually feels familiar right from the start.
Shape the handle into a “C” or a “D” profile, whichever feels more natural in your hand. A flattened oval cross-section is genuinely the most comfortable shape for most people. It avoids sharp edges pressing into fingers or knuckles.
The Real Sizing Rule Most Guides Skip
A handle shouldn’t extend out more than half the diameter of the mug’s opening. This keeps the whole piece balanced, both visually and functionally, once it’s finished and in use.
A handle that’s too large looks striking but demands a firmer grip to keep a full mug balanced. One that sits too close to the body doesn’t leave enough room for fingers to fit through comfortably at all.
Score and Slip: The Step That Actually Bonds Everything
Score both the mug body and the handle at every contact point using a serrated rib or a sharp tool. This roughened texture gives the slip something real to grip, rather than two smooth surfaces sliding apart later.
Apply a generous layer of slip, a mixture of water and clay from the same body, to both scored surfaces. Press the handle gently into place, then smooth the seam with a damp sponge for a clean, seamless transition.
The Crack Most Beginners Don’t See Coming
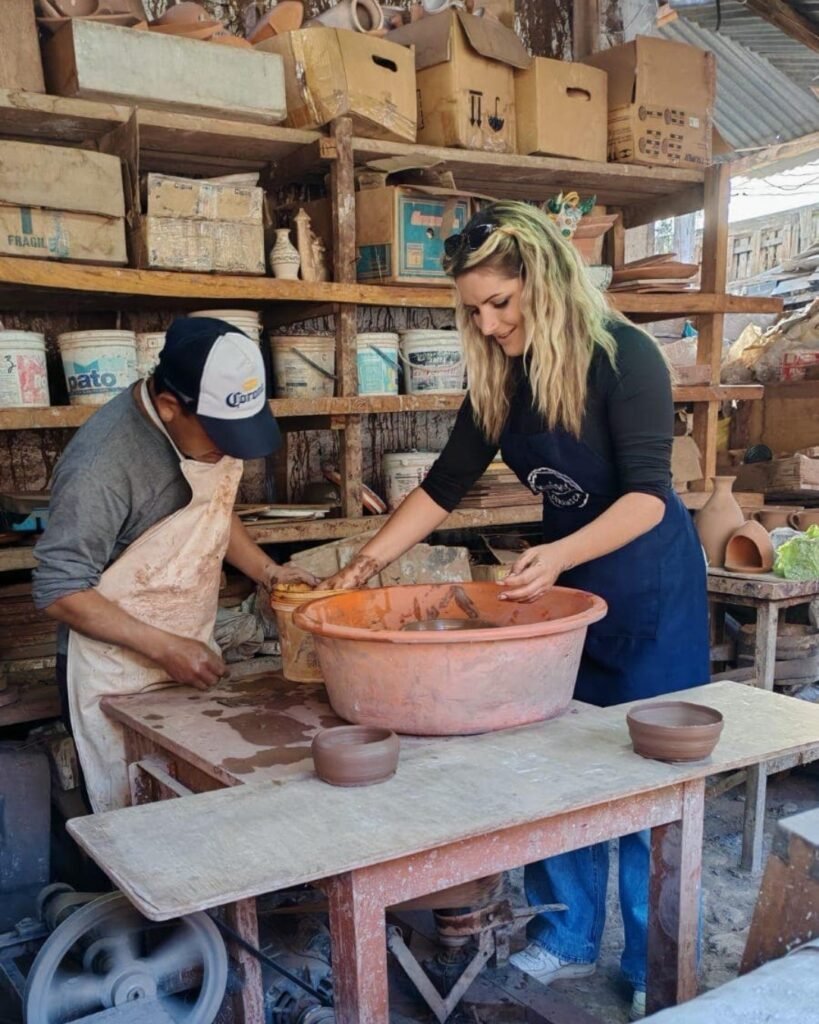
Never try to fill a visible gap or corner with extra slip alone. Slip shrinks more than the surrounding clay does. A gap patched this way almost always cracks once it dries or fires.
Fix a real gap by adding a small amount of matching clay instead. Score and slip it properly before pressing it into place. This takes a few extra minutes but genuinely prevents a real, frustrating failure later.
Pull vs Coil: Two Real Ways to Shape a Handle
Pulling a handle directly from a lump of clay attached to the mug is a common method. It’s fast too, once you’ve practiced it. Water and gravity do most of the real work, stretching the clay downward into a smooth, tapered shape.
Building a handle separately from a coil, then attaching it after, gives more control over the final shape. This method is genuinely easier for beginners. You can reshape or discard a handle before it’s ever attached to the mug.
What to Do If a Handle Breaks Off Later
A handle that snaps off a finished mug can sometimes be reattached with the right adhesive. This is a repair, though, not a real fix at the clay level. Food-safe epoxy made for ceramics is the safer choice here, not a general-purpose glue.
Prevention still beats repair every time. A properly scored, slipped, and slowly dried handle rarely breaks in normal use. That’s exactly why getting the attachment right the first time matters so much.
Let It Dry Slowly and Evenly
Cover the finished mug loosely with plastic too. This lets the handle dry at roughly the same rate as the rest of the piece. A handle that dries much faster than the body puts real stress right at the joint.
Skutt’s own firing guidelines stress even, gradual temperature changes throughout a firing too. The same principle applies just as much during drying, well before the piece ever reaches the kiln.
A Quick Checklist Before You Attach
Confirm both surfaces are leather-hard, not too wet and not too dry. Score every contact point thoroughly, then apply real slip, not just a light brush of water.
Press the handle into place firmly but gently, then smooth the seam with a damp sponge. Cover the piece loosely with plastic afterward, and let it dry slowly and evenly before moving on to bisque firing.
A Kiln Built for Consistent, Even Firing: Skutt KM-1027
Even, programmable firing genuinely protects handles and joints from the thermal stress that causes cracking later.
Practice Makes the Real Difference
Make several handles at once, not just one. This gives real options to choose from once you’re ready to attach. Most potters find their handles improve noticeably after just a handful of attempts.
Comfort should always outweigh appearance when the two conflict. A beautiful handle that’s genuinely uncomfortable to hold defeats the whole real purpose of adding one in the first place.
Ready to Fire Your Finished Mugs?
Browse our complete kiln collection to find equipment built for even, dependable firing every time.
