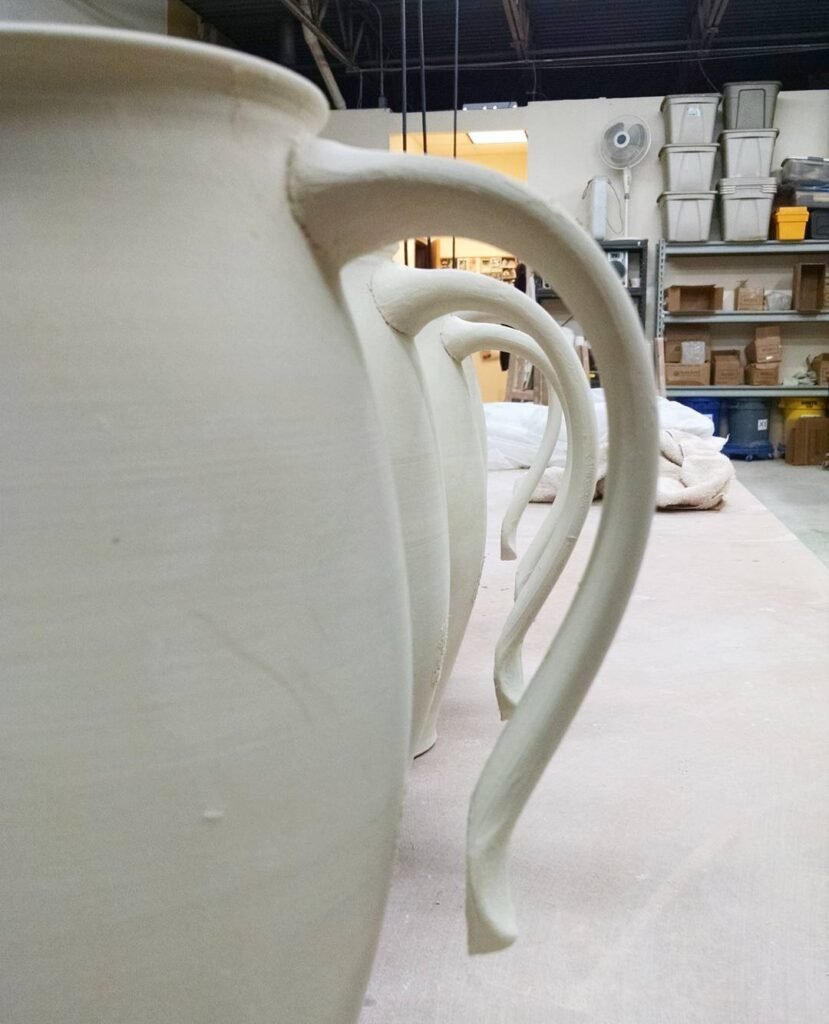
A good pottery handle should feel like part of the pot.
It should be strong.
It should feel comfortable in your hand.
Most importantly, it should stay attached after drying and firing.
That last part can be frustrating for new potters.
A handle may look perfect when you attach it. Then a crack appears the next day. Sometimes the joint breaks during drying. Other times, the handle survives the bisque firing but fails later.
Fortunately, most handle problems have clear causes.
The key is to control moisture, prepare the joints, and let the clay dry evenly.
Choose the Right Time to Add the Handle
Timing matters.
Clay that is too wet can deform easily. Clay that is too dry may not bond well with the handle.
A good starting point is leather-hard clay.
At this stage, the pot has enough strength to hold its shape. However, the surface can still accept a properly prepared attachment.
Try to keep the pot and handle at a similar moisture level.
This is especially important with mugs.
A very wet handle attached to a firmer mug can dry at a different rate. That difference creates stress at the joint.
Therefore, avoid attaching a soft, freshly made handle to a nearly dry pot.
Make the Handle From Similar Clay
Use the same clay body for the pot and handle whenever possible.
Different clay bodies can shrink at different rates.
That difference can put stress on the joint during drying and firing.
Matching the clay does not guarantee a perfect attachment. However, it removes one unnecessary variable.
For functional pottery, consistency is valuable.
Use the same clay body.
Keep the moisture levels similar.
Then focus on the attachment itself.
Shape the Handle Before Attaching It
Do not rush straight from pulling the handle to attaching it.
Give the handle time to firm up.
A handle should hold its shape when you pick it up. It should also have enough flexibility to make a clean connection.
Think about the finished shape before you attach it.
Will the mug feel comfortable?
Is there enough room for your fingers?
Does the handle curve naturally?
Does it sit at a useful angle?
These questions matter just as much as the strength of the joint.
A beautiful handle that is uncomfortable to use is still a poor handle.
Score Both Surfaces
Before attaching the handle, roughen both contact areas.
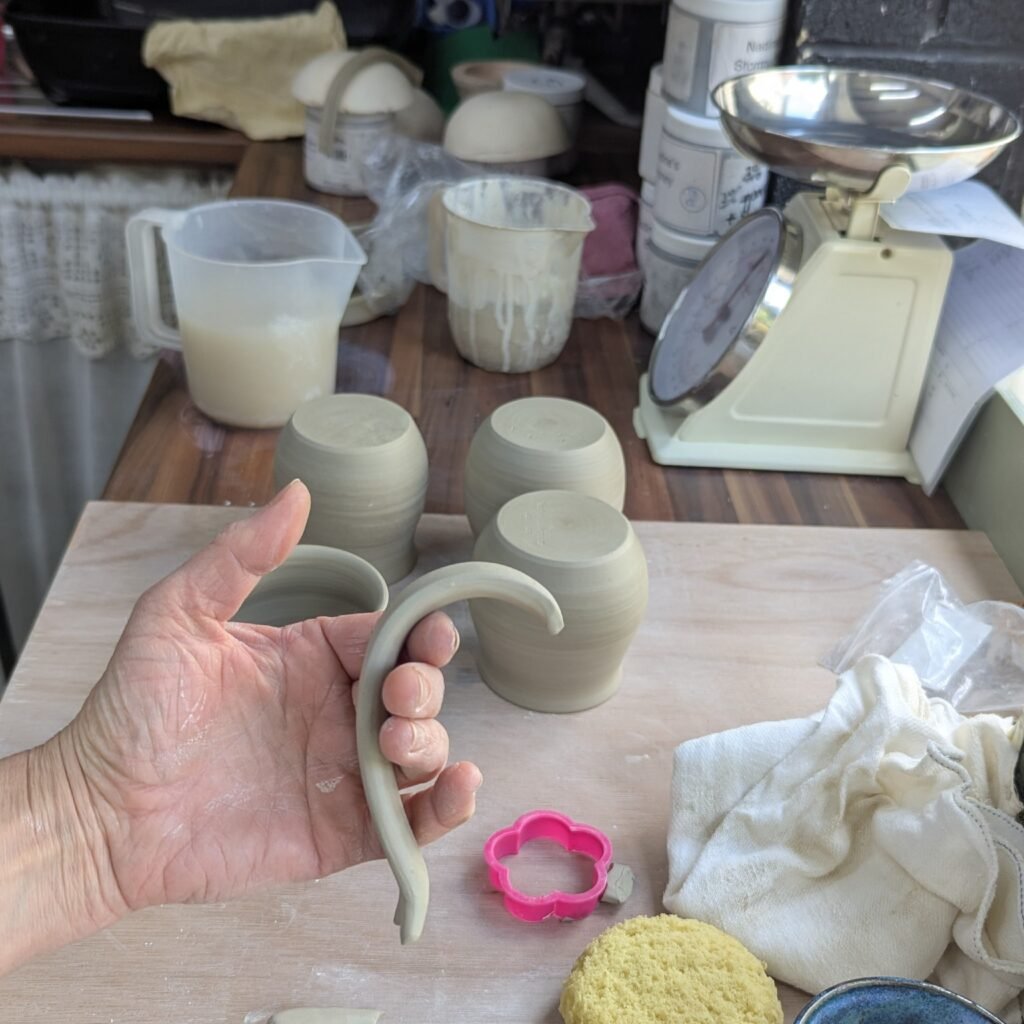
This is commonly called scoring.
Use a suitable pottery tool to create small scratches on the handle and the pot.
Do not make enormous grooves.
You only need enough texture to help the joining material grip both surfaces.
Next, apply a suitable clay slip to the scored areas.
Then press the handle firmly into place.
The goal is a strong mechanical connection between the two surfaces.
Use Slip Properly
Slip is useful, but it is not magic glue.
A common mistake is to apply slip without preparing the surfaces.
Simply painting slip onto two smooth pieces of clay does not guarantee a strong bond.
Instead, prepare both surfaces first.
Score the pot.
Score the handle.
Apply slip.
Then press the pieces together.
Finally, compress and smooth the joint.
This process gives the attachment a much better chance of surviving drying and firing.
Compress the Joint
Compression is one of the most important steps.
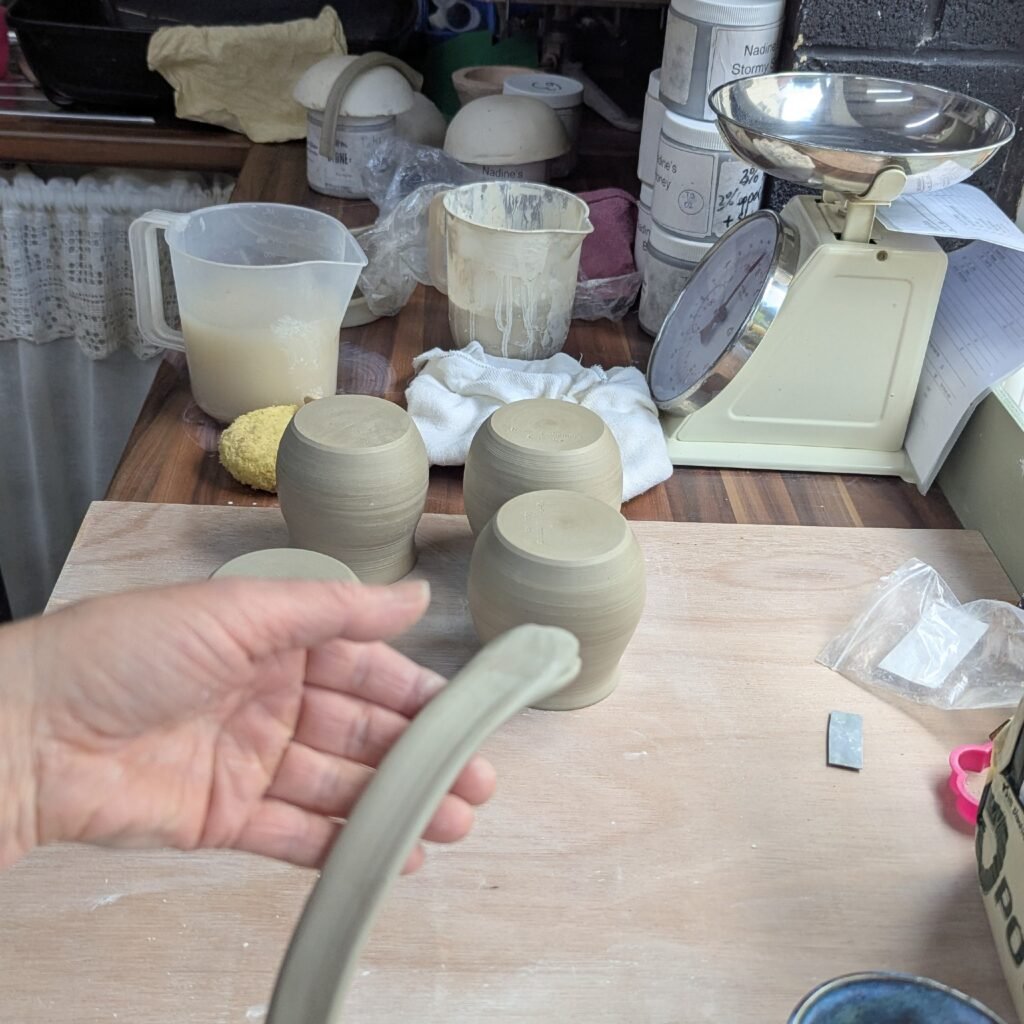
Once the handle is attached, gently press the clay around the joint.
Blend the edges together.
Remove visible gaps.
Then smooth the transition between the handle and the mug.
However, avoid destroying the shape of the handle.
You want the joint to become strong without making the attachment look bulky.
A small rib or modeling tool can help refine the connection.
For some forms, your fingers provide better control.
Add a Small Reinforcement
Some handles benefit from additional clay at the attachment points.
This can strengthen the transition between the handle and the vessel.
However, keep the reinforcement controlled.
A large lump of clay can dry much more slowly than the surrounding piece.
That difference can create its own problems.
Instead, blend the reinforcement gradually into the mug wall.
The finished joint should look intentional.
It should also dry at roughly the same rate as the surrounding clay.
Avoid Handles That Are Too Thin
Thin handles can look elegant.
However, extremely thin handles can become fragile.
They may also dry faster than the mug itself.
That difference can increase stress at the attachment points.
Choose a handle thickness that suits the size of the mug.
Then consider how the mug will actually be used.
A small cup may need a delicate handle.
A large mug filled with hot liquid needs something more substantial.
Strength should always support the design.
Think About the Handle’s Shape
The shape affects comfort.
A handle that is too narrow can squeeze the fingers.
One that is too wide may feel awkward.
A sharp corner can also make the mug uncomfortable.
Therefore, test the shape with your own hand.
Hold the handle before it becomes too firm to adjust.
Ask yourself whether your fingers fit naturally.
Then make small changes.
A few seconds of testing can improve the final mug considerably.
Let the Handle Dry Slowly
Drying is where many good-looking attachments fail.
The handle and mug need to lose moisture at similar rates.
If one section dries much faster, stress can develop.
This is why slow, even drying matters.
After attaching the handle, avoid placing the mug in a hot or very dry location.
Instead, cover the piece loosely.
Check it regularly.
If the handle is drying much faster than the mug, slow the process down.
A controlled drying environment gives the joint more time to adjust.
Why Do Pottery Handles Crack?
Several problems can cause cracking.
The handle may have been attached at the wrong moisture level.
The joint may not have been scored properly.
There may not have been enough compression.
The handle may also be much thicker or thinner than the surrounding clay.
Another common cause is uneven drying.
For example, the handle may be exposed to moving air while the mug remains relatively damp.
The handle then shrinks first.
Stress builds at the joint.
Eventually, a crack appears.
Therefore, when a handle fails, examine the entire process instead of blaming the slip alone.
What If the Handle Cracks During Drying?
Do not automatically throw the mug away.
A small crack may sometimes be repaired while the clay is still workable.
First, determine why the crack appeared.
Was the clay too dry?
Was the joint weak?
Did the handle dry too quickly?
Once you understand the likely cause, make the repair carefully.
However, badly damaged functional ware may not be worth saving.
A repair that looks acceptable before firing can still fail later.
When in doubt, treat the failed piece as a useful test.
Your next handle can be better.
Should You Add Handles Before or After Trimming?
There is no single rule.
The best timing depends on the form and the clay’s moisture level.
Many potters prefer attaching handles when the mug is leather hard. That gives the vessel enough strength while still allowing a good bond.
The important point is not the exact day or hour.
Instead, focus on the condition of the clay.
The pot and handle should be compatible in moisture.
That is more important than following a rigid schedule.
Make a Few Test Handles
Practice helps.
Make several handles before attaching them to your best mugs.
Try different shapes.
Try different thicknesses.
Test different attachment points.
Then observe how they dry.
You will quickly learn which designs feel comfortable and which ones create problems.
This approach also helps you develop a consistent handle style.
That consistency becomes especially valuable when making pottery for sale.
A Simple Handle Attachment Routine
Use the same process each time.
First, bring the mug and handle to a similar moisture level.
Next, prepare the handle shape.
Then, mark the attachment points.
Score both surfaces.
Apply slip.
Press the handle firmly into place.
Afterward, compress and blend the joints.
Check the shape.
Finally, cover the mug and allow it to dry slowly.
This routine removes much of the guesswork.
More importantly, it makes your results easier to repeat.
Frequently Asked Questions
What is the best time to attach a pottery handle?
Leather-hard clay is a common choice. The mug should have enough strength to hold its shape while still having enough moisture for a strong attachment.
Do I need to score pottery before attaching a handle?
Scoring both surfaces can improve the mechanical bond. It works best when combined with appropriate slip and firm compression.
Why do my mug handles keep cracking?
Uneven moisture, poor attachment, insufficient compression, and uneven drying can all contribute. Matching the moisture level of the handle and mug is especially important.
Should the handle and mug be the same clay?
Using the same clay body is generally the simplest approach. It reduces differences in shrinkage between the two parts.
How long should a pottery handle dry?
There is no fixed time. Drying depends on clay type, thickness, humidity, airflow, and the size of the piece. Slow and even drying is more important than a specific number of hours.
Can I repair a cracked handle before firing?
Some small cracks can be repaired while the clay is still workable. However, badly damaged attachments may remain weak after firing.
Final Thoughts
A strong pottery handle starts before the handle touches the mug.
Choose the right moisture level.
Use compatible clay.
Prepare both surfaces.
Score them properly.
Apply slip.
Then compress the joint.
Afterward, slow the drying process.
Most importantly, pay attention to what happens during each stage.
If a handle cracks, treat it as information.
Look at the clay.
Check the attachment.
Examine the drying conditions.
Then adjust your process.
With practice, handles become much easier to make.
You will also develop a better sense of proportion, comfort, and strength.
Eventually, the handle will stop looking like something added to the mug.
It will look like it belongs there.
