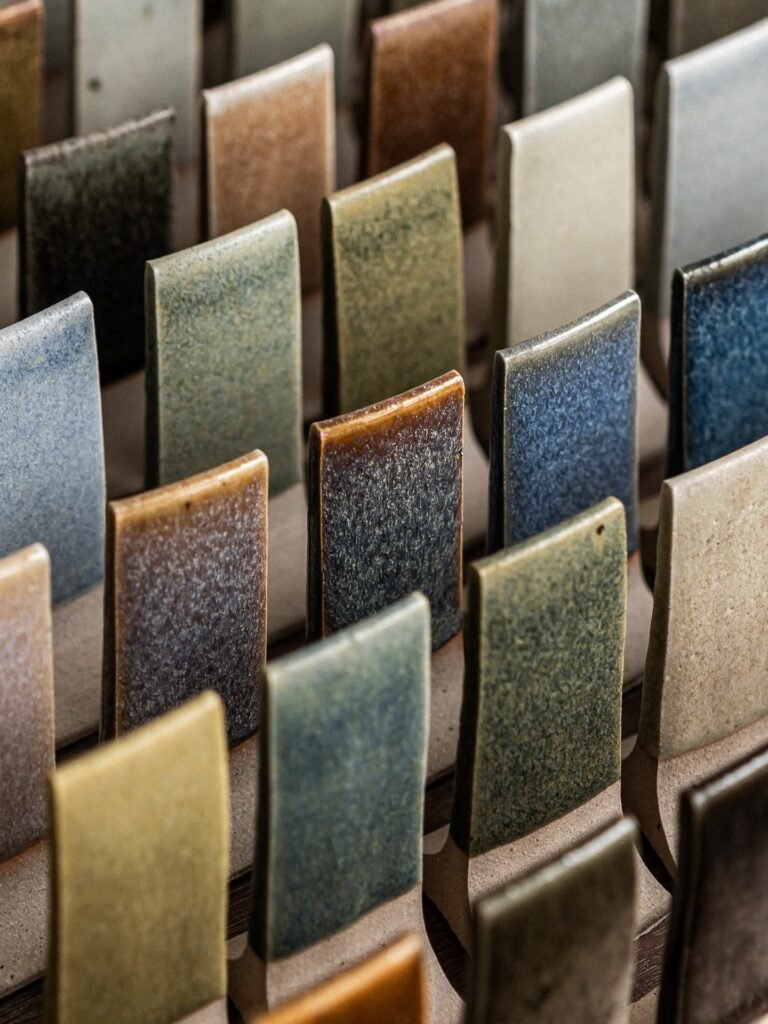
If your glaze shelf is already full but your finished pottery is starting to look a little too predictable, pottery glaze layering is one of the easiest ways to create new surfaces without buying an entirely new collection of glazes.
Layering two compatible glazes can produce depth, movement, color variation and reactions that neither glaze produces on its own.
The catch? Glaze combinations can be unpredictable.
That is exactly what makes them fun.
What Is Pottery Glaze Layering?
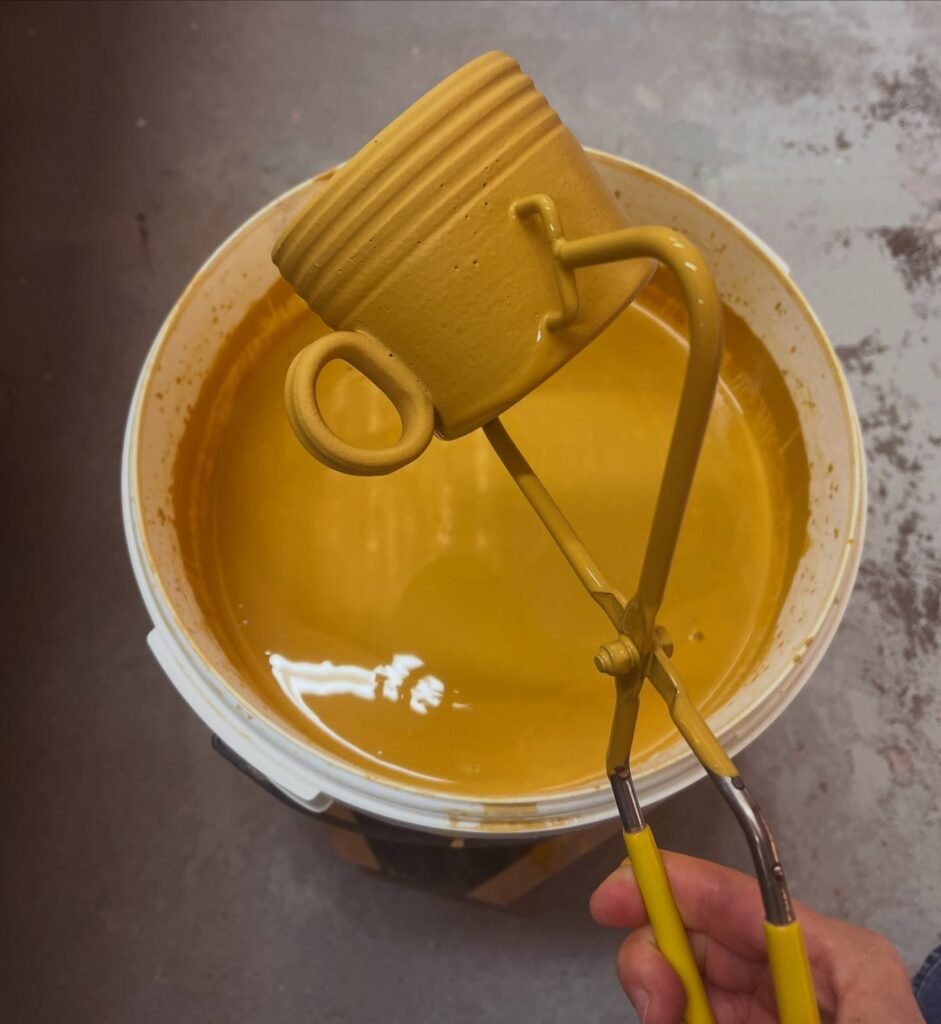
Pottery glaze layering is the process of applying one ceramic glaze over another before firing.
The order, thickness and placement of each glaze can change the final result. A glaze that looks completely ordinary on its own can behave very differently when it is placed over another glaze.
For potters, that means a relatively small glaze collection can create a surprisingly large number of possible surfaces.
Instead of buying another ten jars of glaze, you can start experimenting with the ones already on your shelf.
Why Glaze Layering Is So Popular
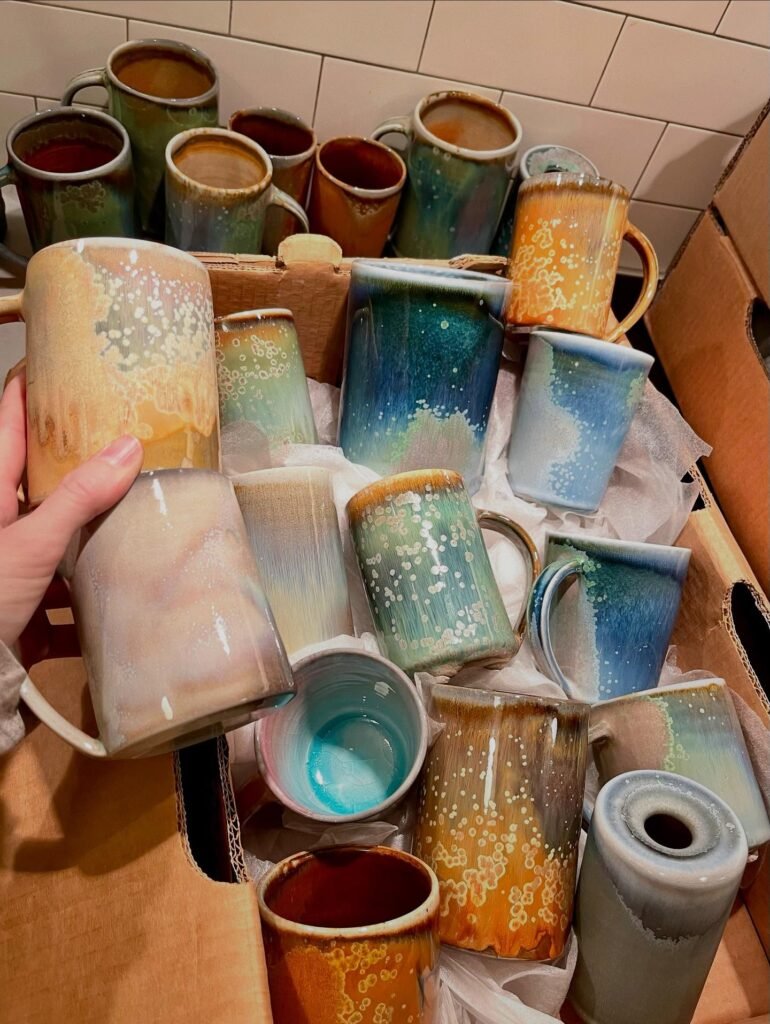
Layering gives potters more control over the visual character of their work while still leaving room for the kiln to do some of the work.
You may see:
• Color shifts
• Speckling
• Breaking over edges
• Pools of darker color
• Variations in gloss
• Movement between the two glazes
• Unexpected combinations that become new studio favorites
This also fits nicely with the broader movement toward more tactile, individual-looking ceramic surfaces rather than perfectly uniform finishes. Current 2026 design coverage continues to emphasize richer colors, organic surfaces and more expressive material choices.
Start With Glaze Test Tiles
The best advice is simple: test before committing a new combination to your favorite piece.
Make a series of small test tiles and label exactly what you used.
Try the same two glazes in different orders.
Glaze A over Glaze B
Then:
Glaze B over Glaze A
You can also change the thickness. One coat over three coats may produce a completely different surface.
Record the clay body, firing temperature, glaze thickness and firing schedule. If you discover a combination you love, you’ll actually be able to reproduce it.
Firing Temperature Matters
A glaze combination that works beautifully at one firing temperature may not behave the same way at another.
This is why glaze testing should always be done around the firing schedule you actually intend to use.
If you’re setting up your own studio kiln, choosing the correct kiln temperature range is just as important as choosing the right glaze. The Kiln Depot’s guide to choosing the right kiln size for your pottery studio explains how firing requirements, studio output and kiln capacity should factor into the decision.
You can also compare available models in our kiln collection, which includes electric and gas options for different studio requirements.
Don’t Assume Every Glaze Combination Is Compatible
This is where experimentation needs a little caution.
Two glazes that look good beside each other aren’t automatically suitable for layering.
Test combinations on the clay body you actually use and fire them under your normal conditions. Pay attention not only to appearance but also to surface quality, fit and whether the finished glaze behaves appropriately for the intended use.
For functional ware, don’t assume that an attractive experimental combination is automatically food-safe.
Build Your Own Glaze Library
One of the best parts of glaze layering is that your experiments eventually become a personal reference library.
Keep the successful test tiles.
Photograph them.
Write down the glaze names and application order.
Record the firing temperature.
Over time, you’ll develop combinations that are specific to your studio rather than simply relying on whatever happens to be popular online.
And that’s really the goal.
You don’t need hundreds of glazes. You need to understand the ones you have.
Choosing Equipment for More Consistent Results
Good glaze testing also depends on having consistent firing conditions.
If you’re firing in your own studio, a programmable electric kiln gives you much more control over your firing schedule than relying on someone else’s kiln cycle.
If you’re still choosing your first kiln, our beginner’s guide to choosing your first pottery kiln covers the major decisions, including electric versus gas and what beginners should consider before buying.
For a home studio, our 2026 home pottery kiln buyer’s guide is another useful starting point when comparing size, voltage and firing requirements.
And if you’re building out the rest of your studio, The Kiln Depot also carries pottery wheels, slab rollers, pug mills and other ceramic equipment.
Frequently Asked Questions
Can you layer any pottery glazes?
No. Glazes should be tested together before being used on finished work. Different glaze chemistry, application thickness, clay bodies and firing conditions can produce very different results.
Does the order of layered glazes matter?
Yes. Applying Glaze A over Glaze B can produce a noticeably different result from applying Glaze B over Glaze A.
How many coats should I use?
There isn’t one universal number. Start with controlled test tiles and vary the number of coats to see how thickness affects the result.
What temperature should layered glazes be fired at?
Use the firing temperature appropriate for the specific glazes and clay body you’re using. Always follow the manufacturer’s firing recommendations and test combinations before using them on functional ware.
