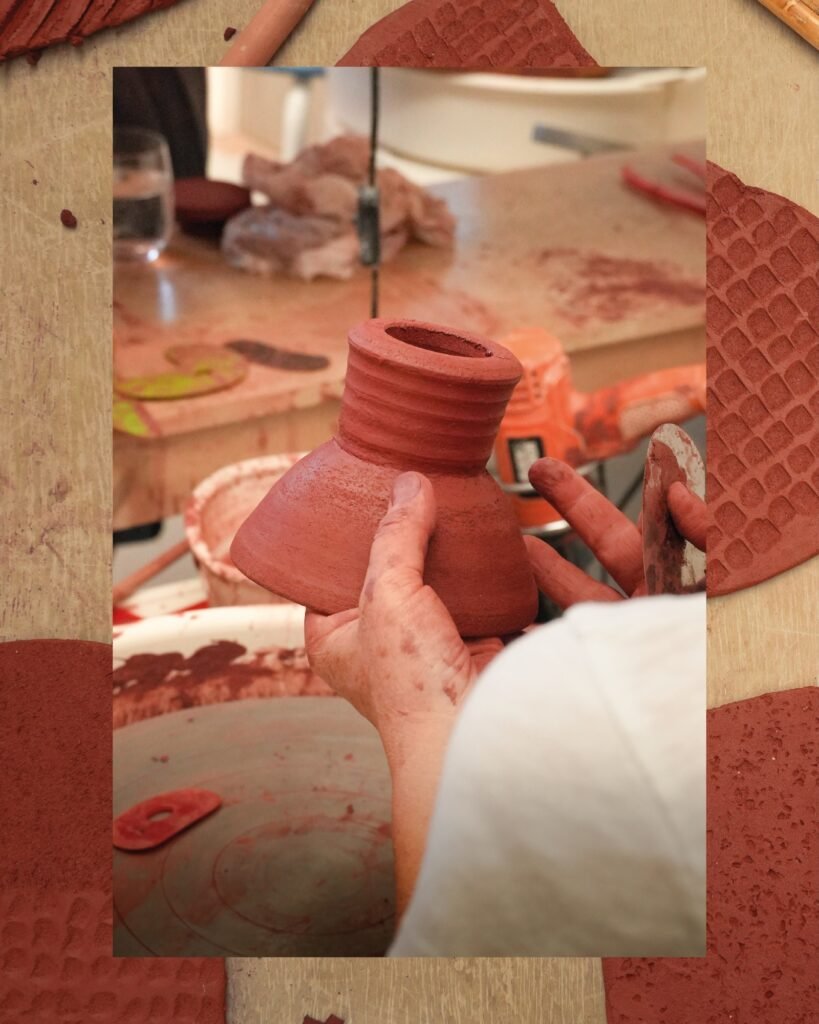
Pottery texture can turn a simple form into something much more distinctive. You can press patterns into wet clay, carve leather-hard surfaces, roll textures into slabs, or build raised details onto a finished form.
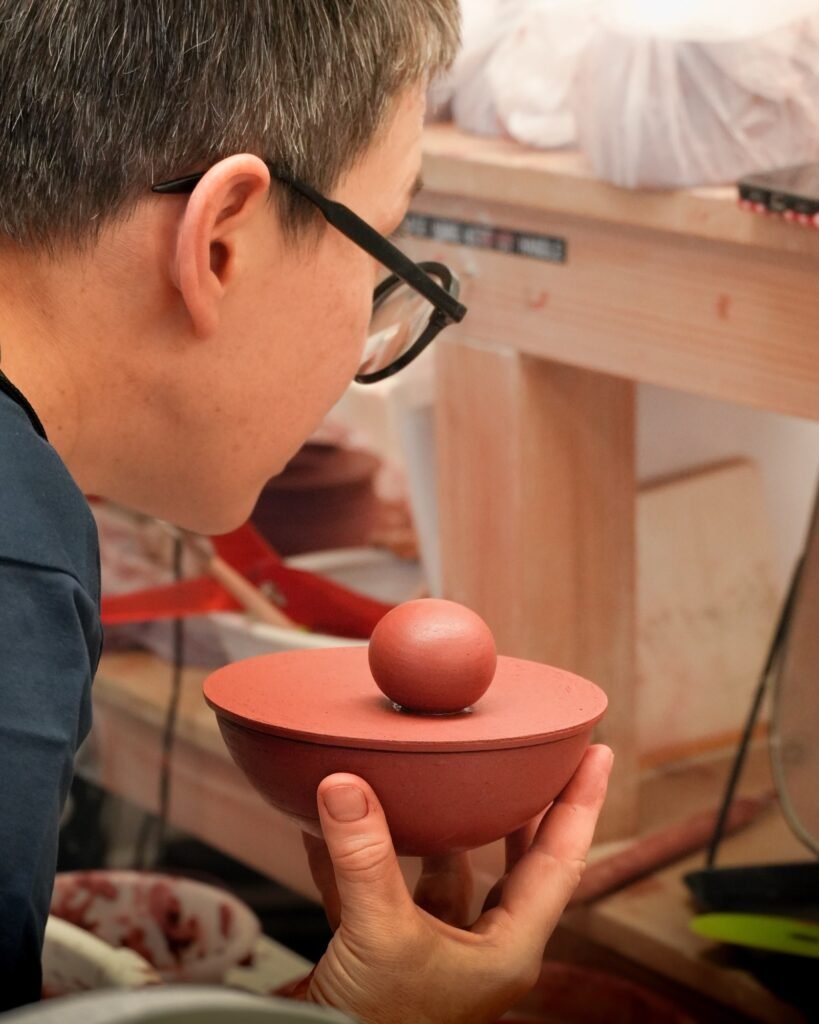
The best part is that you do not need an advanced studio to start.
In fact, many useful texture tools are already around the house.
However, each technique creates a different result. Some methods produce subtle marks, while others create deep relief that changes the entire shape of a piece.
Here are nine pottery texture techniques worth trying in your studio.
1. Impress Objects Into the Clay
Impressing is one of the easiest ways to create texture.
Simply press an object into soft clay and remove it carefully.
Leaves, fabric, lace, shells, stamps, mesh, and carved tools can all create interesting impressions.
For example, a piece of textured fabric can leave a repeating pattern across a slab. A leaf can create a more organic impression.
Tip: Test the object first.
Some materials stick to wet clay. Others leave marks that disappear during firing.
2. Carve the Surface
Carving gives you much more control.
You can use a needle tool, carving tool, loop tool, or other sharp implement to remove clay from the surface.
Try simple lines first.
Then experiment with geometric patterns, botanical shapes, or repeating marks.
Leather-hard clay often gives you more control than very soft clay. The surface feels firm, so your tool can make cleaner cuts.
Try Carving in Layers
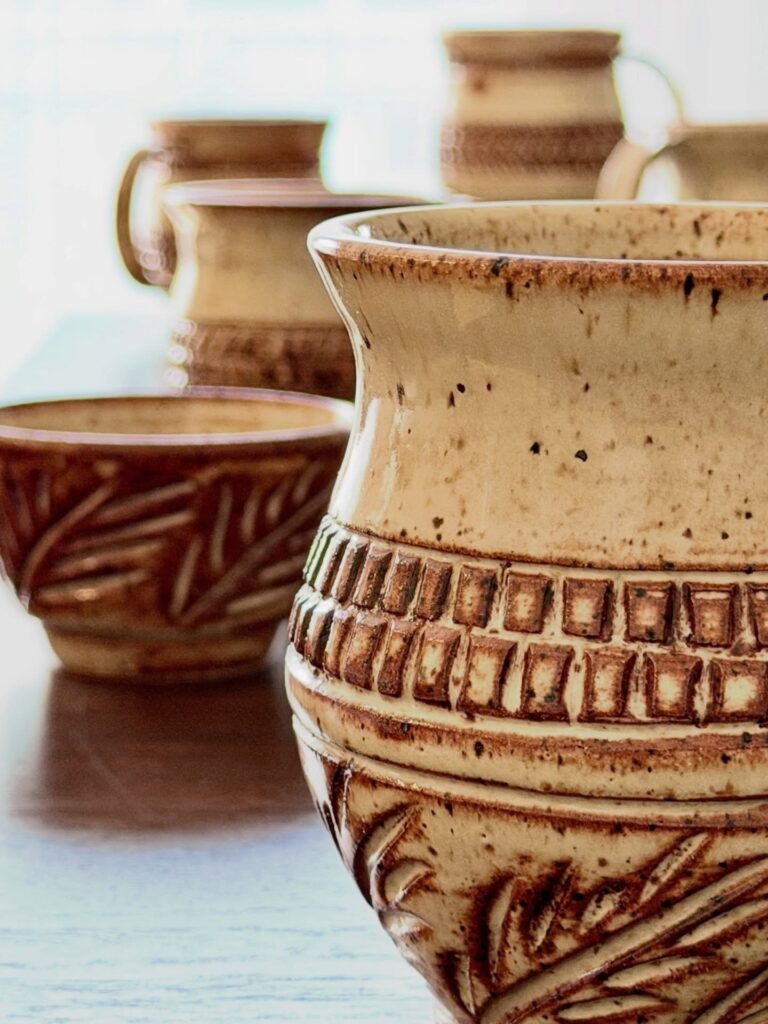
You do not have to stop at one level.
Carve a shallow line around the pot. Then remove more clay from selected areas.
As a result, the surface develops different depths.
Glaze can then emphasize those changes.
3. Use a Textured Slab
Slab building offers another easy way to create texture.
First, roll the clay to an even thickness.
Next, place a textured material over the surface.
Then roll again with controlled pressure.
Fabric, rope, leaves, lace, and other materials can create a pattern in the clay.
This technique works particularly well for tiles, plates, trays, and sculptural forms.
A slab roller can make the process faster and more consistent. The Kiln Depot’s slab roller collection includes equipment designed for preparing uniform clay slabs.
4. Stamp Repeating Patterns
Stamps let you repeat the same mark across a piece.
You can buy ceramic stamps, carve your own, or make simple stamps from suitable materials.
Start with one small area.
Then repeat the mark around the vessel.
This approach works especially well when you want rhythm without covering the entire surface.
For example, a single geometric stamp can create a strong border around a mug or bowl.
5. Add Texture With Slip
Texture does not always have to come from removing clay.
You can also add material.
Slip trailing involves applying liquid clay through a narrow opening. The raised lines can create patterns, lettering, dots, or flowing designs.
Because the slip sits above the clay surface, it creates both visual and physical texture.
However, keep the application controlled.
Very thick additions can behave differently during drying and firing.
Therefore, test the technique on a small tile before using it on a finished piece.
6. Try Sgraffito
Sgraffito combines a contrasting surface layer with carving.
First, apply a layer of colored slip or another suitable surface material.
Next, allow the surface to reach the appropriate stage.
Then scratch through the layer to reveal the clay underneath.
The contrast makes the carved pattern stand out.
Sgraffito works particularly well for botanical drawings, lettering, geometric designs, and illustrations.
For beginners, start with a simple pattern.
As your control improves, you can create much more detailed work.
7. Build Up the Surface
You can also create texture by attaching pieces of clay to the surface.
Small coils, dots, strips, or shaped pieces can create raised patterns.
This method gives you a stronger three-dimensional effect than shallow carving.
It also works well for sculptural pottery.
However, attach additions securely.
Score and slip the joining surfaces when appropriate. Then compress the connection so the added clay bonds properly.
Most importantly, keep the thickness reasonably consistent.
Large differences in thickness can make drying more difficult.
8. Combine Smooth and Rough Areas
Texture does not need to cover the entire pot.
In fact, contrast often creates a stronger result.
Leave one section smooth.
Then texture another section.
For example, a simple vase might have a smooth upper half and a deeply carved lower section.
That contrast gives the eye somewhere to move.
Similarly, a textured mug can feel more refined when the handle remains smooth.
Therefore, think about where you place texture rather than simply adding as much as possible.
9. Let the Glaze Emphasize the Texture
Texture and glaze can work together.
A textured surface creates valleys and raised areas. Glaze can collect differently across those surfaces.
As a result, the same glaze can look different on a smooth pot and a heavily textured pot.
You can also use contrasting glaze colors to emphasize carved or raised details.
However, test the combination first.
Glaze thickness, clay body, firing temperature, and surface depth can all change the final result.
Your kiln also needs to reach the appropriate firing temperature for the materials you use. The Kiln Depot’s kiln collection includes electric and gas kilns for different studio applications.
Which Pottery Texture Technique Should You Try First?
Start with the method that matches your current pottery style.
| Technique | Best for | Difficulty |
| Impressing | Natural and repeating patterns | Easy |
| Carving | Lines and detailed designs | Easy–Medium |
| Textured slabs | Plates, tiles, and handbuilding | Easy |
| Stamping | Repeating patterns | Easy |
| Slip trailing | Raised designs | Medium |
| Sgraffito | Drawn and carved decoration | Medium |
| Added clay | Strong relief | Medium |
| Smooth/rough contrast | Modern surfaces | Easy |
| Glaze over texture | Emphasizing depth | Medium |
You do not need to master all nine.
Instead, choose two techniques and make several test pieces.
That approach will teach you much more than trying everything once.
How Do You Keep Textured Pottery From Cracking?
Texture can change how clay dries.
Deep carvings, thick additions, and uneven walls can all create differences in moisture loss.
Therefore, keep your forms reasonably even.
Dry textured pieces slowly.
Also, avoid creating extremely thick areas next to very thin ones unless you understand how the clay body behaves.
Test tiles can help you identify problems before they appear on a larger piece.
Does Texture Affect Firing?
Yes.
Texture itself does not change the basic firing process, but the shape and thickness of the piece can affect how it dries and fires.
Deep relief can also change how glaze collects on the surface.
Consequently, heavily textured work deserves careful testing.
Use the firing schedule recommended for your clay body and glaze.
Do not assume that a new texture requires a different firing temperature unless the materials call for it.
Final Takeaway
Good pottery texture does not come from adding the most detail. It comes from using texture with intention.
Start with simple impressions.
Then try carving.
After that, experiment with textured slabs, stamps, slip, or sgraffito.
Most importantly, pay attention to contrast.
A smooth area beside a rough one can create more visual interest than a surface covered from edge to edge.
As you experiment, make small test pieces and fire them with your regular clay and glaze combinations.
That way, you can see exactly how your textures behave before committing to a finished piece.
Once you find techniques that fit your work, the same methods can become part of your signature style.