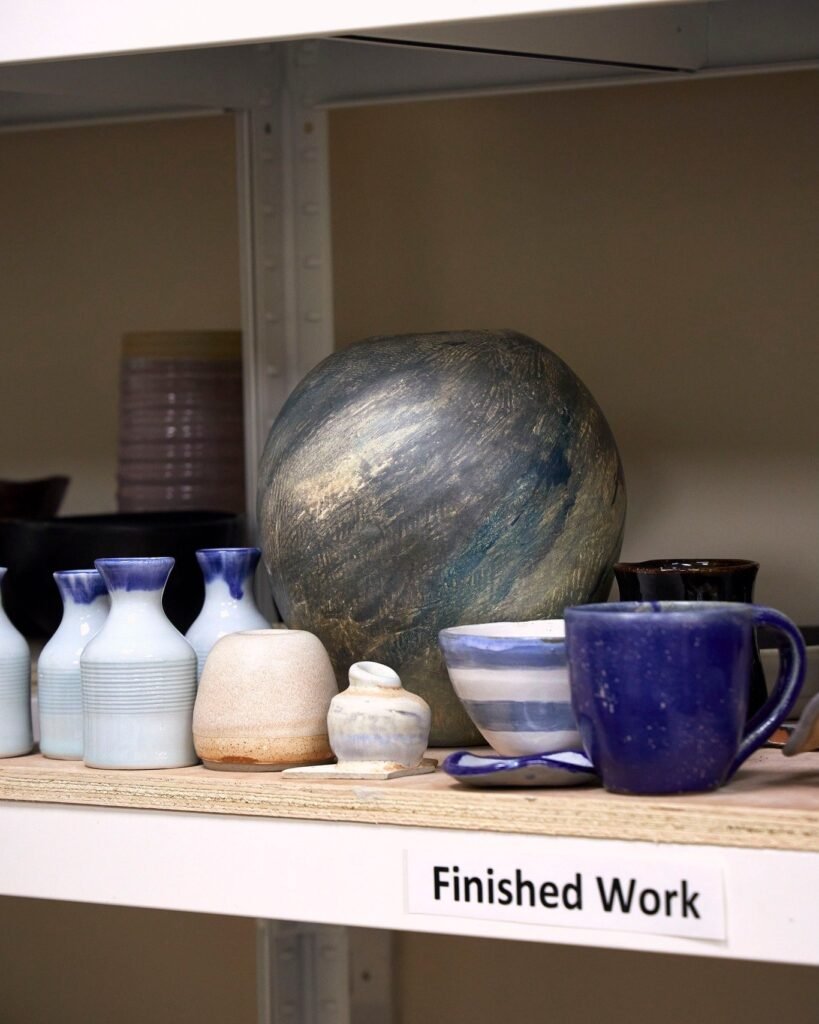
Common pottery glazing mistakes almost always trace back to a small, predictable set of causes. Dirty bisqueware, glaze left on the foot, uneven coats, and the wrong firing schedule are the biggest culprits. Each one is genuinely avoidable once you know what actually causes it. This guide covers the real mistakes beginners make most often. It also covers why they happen and exactly how to fix each one before it ruins a piece.
Pottery Glazing Mistakes One: Dirty or Dusty Bisqueware
Dust and oils on bisqueware stop glaze from properly sticking. This causes real peeling or bald spots once the piece comes out of the kiln.
Wipe every piece with a damp sponge right before you glaze it. This simple step takes seconds, yet it prevents one of the most common and easily avoided glazing failures.
Mistake Two: Leaving Glaze on the Foot
Glaze left on the bottom inch of a piece melts during firing and permanently fuses it to the kiln shelf. This damages the piece and can genuinely ruin the shelf too.
Wax the foot ring before glazing, or wipe it clean by hand afterward. Either method works, but skipping this step is one of the mistakes studio owners notice fastest.
Mistake Three: Applying Glaze Too Thick or Too Thin
Thick coats dry unevenly and often cause drips, runs, or puddles once fired. Thin coats, on the other hand, can leave bald spots or a dull, unfinished-looking surface.
Test your specific glaze on a small scrap piece first. Don’t guess on a finished piece you’ve already put real time into. Most glaze makers also list a target thickness you can measure against.
Mistake Four: Rushing Between Coats
Applying a second coat before the first has dried can pull off the earlier layer entirely. This creates a rough, uneven surface that’s hard to fix once it’s happened.
Let each coat dry to the touch before adding the next one. This costs a little patience upfront, but it saves a piece from real damage later.
Mistake Five: Skipping the Stir
Glaze ingredients settle at the bottom of a container over time too. Skip stirring, and you’ll apply an inconsistent, unpredictable mix straight from the top.
Stir thoroughly before every single use, ideally with a whisk or an electric mixer for larger batches. A properly mixed glaze behaves far more predictably once it’s actually fired.
Mistake Six: Mismatched Clay and Glaze
Pairing a glaze and clay body with different expansion rates causes crazing too. This is a fine network of cracks across the glaze surface. You can spot it by gently breathing on a fired piece and watching the surface fog.
Match your glaze to your specific clay body’s real firing range instead of guessing. This single mismatch causes a surprising number of “why did my glaze crack” questions.
Mistake Seven: Overfiring or Underfiring
Firing too hot can make glaze run, drip, or leave tiny holes and pits across the surface. Firing too cool, meanwhile, often leaves glaze looking dull or unfinished. It never fully melted the way it was meant to.
Know your specific glaze’s cone range before you fire, and follow the recommended schedule closely. Don’t rush the cooling phase either, since that matters just as much as the heating side.
Mistake Eight: Crawling
Crawling happens when glaze pulls away from the clay surface during firing, leaving bare patches. Thick coats of powdered or matte glazes are especially prone to this exact problem.
Favor liquid glazes over powdered ones where possible. Avoid applying a fresh coat directly onto an already-dried first layer without prepping it too. Testing on scrap tiles catches this before it ruins a finished piece.
Mistake Nine: Ignoring Food Safety
Not every glaze is safe for food contact, even if it looks perfectly finished. Some older or decorative glazes contain materials that can leach into food or drink over time.
Check that any glaze labeled for functional ware is genuinely food safe before using it on a mug or plate. Manufacturer labels usually state this clearly, so there’s no real reason to guess on something this important.
Mistake Ten: Not Keeping Records
Many beginners skip writing down what they actually did. They then can’t repeat a result they loved, or avoid one they didn’t. This wastes real time re-learning lessons you’ve technically already learned once.
Keep a simple log of glaze combinations, firing temperatures, and application thickness for every piece. This single habit saves real frustration down the road. It matters even more once you’re working with more than a couple of glazes regularly.
Real Equipment Worth Having on Hand: Skutt KM-1027
A reliable kiln with consistent, even heat distribution genuinely helps too. It reduces how often firing-related glaze problems show up in the first place.
Testing Matters More Than People Expect
Test new glaze combinations on small scrap tiles before committing to a finished piece. Keep real notes on what combinations and thicknesses actually produced the results you liked. Memory alone rarely holds up months later.
Skutt’s own kiln safety guidelines also stress following manufacturer firing schedules closely. This directly supports getting consistent glaze results every time.
Putting It All Together
Most glazing problems trace back to one of these ten real mistakes, not bad luck or an unpredictable process. Slow down. Prep your bisqueware properly. Test before committing to a finished piece. These simple habits fix far more issues than any special technique or expensive glaze ever will.
Mistakes Are Part of the Real Learning Process
Expecting perfect results right away only sets up needless frustration too. Pottery takes real time, practice, and patience to master. Every failed glaze actually teaches something specific about your process.
Ready to Improve Your Firing Results?
Browse our complete kiln collection to find a model built for consistent, even firing every time. A dependable kiln genuinely removes one entire category of glazing mistakes before you’ve even started.