Learning how to reclaim pottery clay can save money, reduce studio waste, and give your scraps another useful life. Every potter eventually ends up with trimmings, failed pots, dried clay, and pieces that never make it to the kiln. Instead of throwing all that material away, you can often turn it back into workable clay.
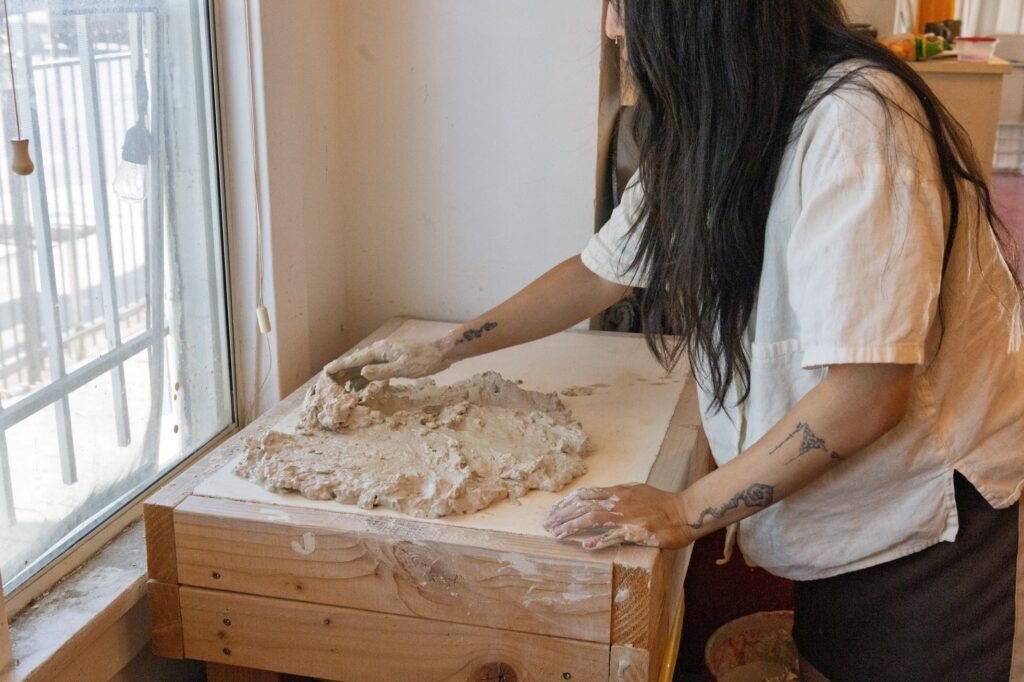
Fortunately, you do not need a pug mill to get started.
With a bucket, water, a plaster bat or absorbent surface, and some patience, most home potters can reclaim a surprising amount of clay. However, the process works best when you understand which scraps belong together and how much moisture the clay needs.
What Does Clay Reclaim Mean?
Clay reclaim is the process of recovering unused or discarded clay and turning it back into usable pottery clay.
The material can come from several sources.
Throwing trimmings are one of the easiest sources because they have usually never dried completely. Failed pots can also go into the reclaim bucket after you remove any contaminants.
Even completely dry clay can be reclaimed.
The basic process involves breaking the clay down, adding water, mixing it into a consistent slurry, removing excess moisture, and then working the clay until it reaches a useful throwing or handbuilding consistency.
Therefore, reclaiming is less about complicated equipment and more about controlling moisture.
Which Pottery Clay Scraps Can You Reclaim?
Not every piece of studio waste belongs in the same bucket.
Start by separating clay according to its body.
For example, keep porcelain separate from stoneware.
Likewise, keep different stoneware bodies separate when their formulas or firing temperatures differ.
Mixing unrelated clay bodies can create problems later.
A reclaim bucket should also remain free of foreign materials.
Remove plaster.
Keep glaze scraps out.
Avoid pieces containing large amounts of wax, paint, or other contaminants.
Small amounts of dried clay are usually fine, but anything that could affect the chemistry or firing behavior of the clay deserves caution.
As a result, good sorting at the beginning makes the entire reclaim process easier.
How to Reclaim Pottery Clay From Trimmings
Fresh throwing trimmings require the least work.
Start by collecting them in a dedicated container.
If the trimmings remain soft, you can allow them to accumulate until you have enough material for a batch.
Next, break up any larger pieces.
Add water gradually rather than flooding the container immediately.
The goal is to allow the clay to absorb water evenly.
Afterward, let the mixture sit.
Dryer pieces need more time to absorb water, while soft trimmings may break down much faster.
Once the material becomes thoroughly saturated, mix it into a smooth, consistent mass.
A drill-mounted mixing attachment can help with larger quantities, although smaller batches can be mixed by hand.
How to Reclaim Completely Dry Clay
Dry clay looks useless, but it can often become perfectly workable again.
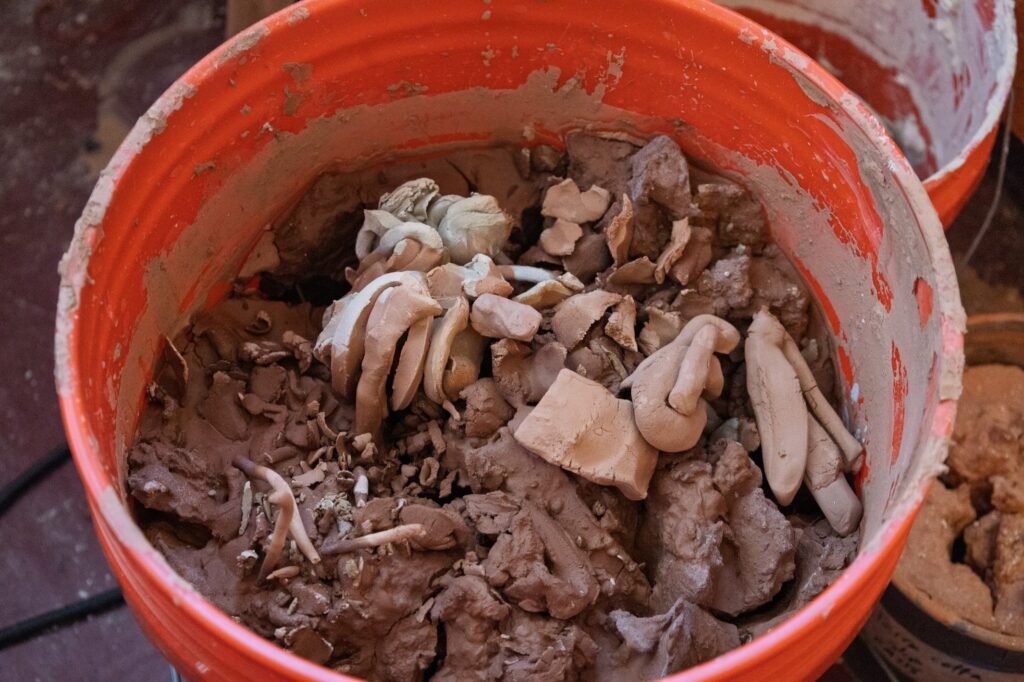
Break large pieces into smaller chunks first.
Then place the pieces into a sturdy bucket.
Add enough water to cover the clay.
Do not worry if the mixture looks terrible at this stage.
The dry clay needs time to absorb the water.
Let the material sit until the pieces have completely broken down.
Depending on how dry and dense the scraps are, this can take hours or longer.
Stir the mixture occasionally if necessary.
Eventually, the clay should become a thick slurry with no hard pieces remaining.
That slurry is the starting point for your reclaimed clay.
Let the Clay Become a Smooth Slurry
Consistency matters here.
If some chunks remain hard while other areas have become completely liquid, the clay has not hydrated evenly.
Break up those remaining pieces and continue mixing.
The finished slurry should have a relatively uniform texture.
At this stage, resist the temptation to start throwing it.
It contains far too much water.
Instead, you need to remove enough moisture to bring the clay back to a workable consistency.
How to Dry Reclaimed Pottery Clay
This is where many beginners make mistakes.
Pouring wet clay onto a non-absorbent surface can leave you waiting for a very long time.
Instead, use an absorbent surface designed to pull water from the clay.
Plaster bats are particularly useful.
Spread the reclaim across the surface rather than creating one enormous mound.
A thinner layer dries more evenly.
Check the clay regularly.
Turn or cut the material when necessary so moisture can escape consistently.
However, do not let the reclaim dry completely.
You want it to reach a plastic, workable consistency.
Once the clay feels firm enough to handle without sticking excessively to your hands, move to the next stage.
How to Know When Reclaimed Clay Is Ready
There is no universal drying time.
Room temperature, humidity, clay thickness, and airflow all change the process.
Instead of relying on the clock, judge the clay itself.
The reclaim should feel plastic rather than runny.
It should hold together when squeezed.
It should not leave excessive moisture on your hands.
At the same time, it should not crumble when you try to bend or compress it.
That balance takes practice.
Fortunately, you will develop a much better feel for it after a few batches.
Wedge the Reclaimed Clay
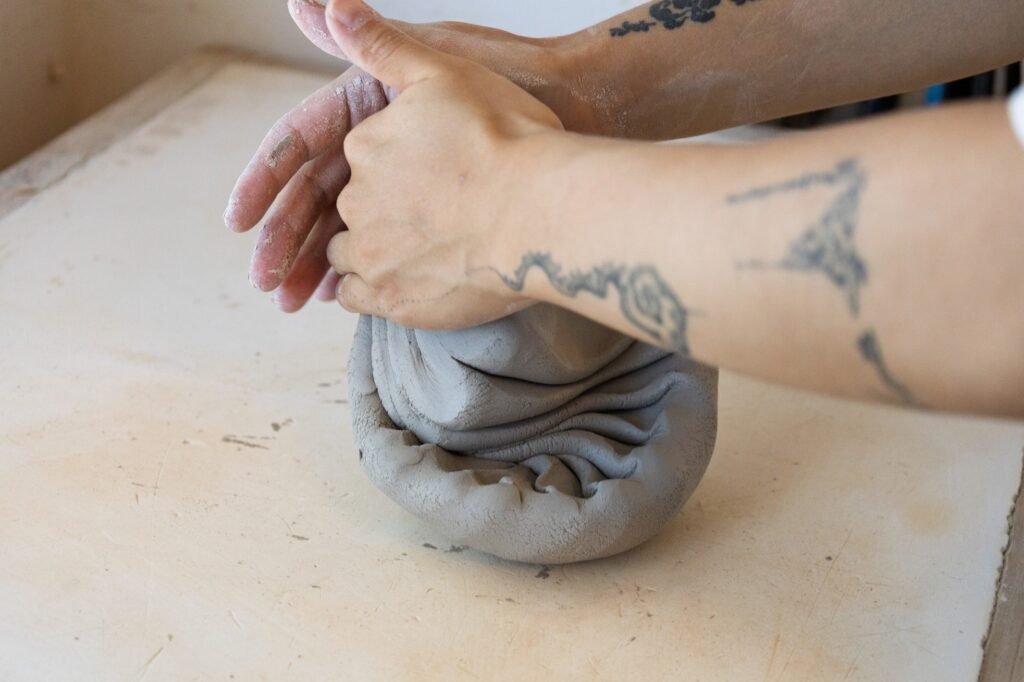
Once the clay reaches a workable consistency, wedge it thoroughly.
Wedging helps even out moisture and improves the consistency of the reclaimed material.
It also helps eliminate some of the irregular texture created during the reclaiming process.
Use the wedging method you normally prefer.
Spiral wedging and ram’s-head wedging can both work well when performed correctly.
However, remember that wedging does not replace proper mixing.
If your reclaim still contains dry pockets or large chunks, return to the mixing stage instead of trying to fix everything through wedging.
Can You Reclaim Clay Without a Pug Mill?
Absolutely.
A home potter can reclaim clay without a pug mill.
For small amounts of scrap, hand mixing and wedging are often perfectly practical.
That is especially true for beginners who only generate a small amount of waste each week.
As your studio produces more clay scrap, however, the equation changes.
A pug mill can process larger quantities more efficiently and can also de-air reclaimed clay.
The Kiln Depot’s guide to pug mills for clay recycling explains when that equipment starts making sense.
Therefore, you do not need to buy expensive machinery simply because you want to reclaim clay.
Start with the simplest method that matches your volume.
When Does a Pug Mill Become Worth It?
Volume is the biggest factor.
If you reclaim a few pounds of clay occasionally, a bucket and plaster surface may be enough.
If you produce several buckets of scraps every week, manual reclaim can become a time-consuming job.
At that point, a pug mill can save significant labor.
A de-airing pug mill can also turn reclaimed clay into a more consistent, ready-to-use material.
Consequently, serious production studios often invest in reclaim equipment once clay waste and labor become significant enough to justify the cost.
You can also compare equipment in The Kiln Depot’s pug mills and mixers collection.
Avoid Mixing Different Clay Bodies
This mistake can create problems long after the reclaim bucket is full.
Suppose you combine a low-fire clay with a high-fire stoneware body.
The resulting mixture no longer has predictable firing characteristics.
Similarly, combining porcelain with a heavily grogged stoneware can dramatically change the texture and behavior of the resulting clay.
Therefore, label your reclaim buckets.
Write the clay body directly on the container.
If you are uncertain about a scrap’s identity, keep it separate rather than guessing.
That small habit can save an entire batch of clay from becoming unusable.
Keep Glaze Out of Your Reclaim
Glaze contamination deserves special attention.
A small amount of glaze can alter the chemistry of a clay body.
That may affect its color, melting behavior, vitrification, or firing range.
For that reason, do not throw glazed pottery directly into your ordinary reclaim bucket.
Likewise, avoid adding glaze sludge or heavily contaminated studio cleanup water.
Keep your reclaim as clean as possible.
A clean clay recycling system produces much more predictable results.
What About Clay That Has Gone Moldy?
Reclaimed clay can sometimes develop an unpleasant smell if it sits wet for a long time.
That does not necessarily mean the clay has become unusable.
Organic material can encourage microbial growth in wet clay.
However, the bigger concern is usually the condition and contamination of the material rather than the smell itself.
Keep reclaim containers covered.
Clean the outside of the buckets.
Avoid allowing contaminated studio waste into the clay.
If you notice unusual contamination or materials you cannot identify, discard that portion rather than risking the rest of your reclaim.
How to Store Reclaimed Pottery Clay
Once the clay reaches the right consistency, store it in an airtight container or sealed plastic bag.
The goal is to prevent it from drying out again.
Label the clay body clearly.
Also record the date if you process large batches.
That makes it easier to track older reclaim and avoid accidentally mixing different materials later.
For home studios, a few smaller sealed bags can sometimes work better than one enormous container.
You can open only what you need while keeping the remaining clay protected from air.
Common Clay Reclaim Mistakes
Adding too much water
Excess water creates a very thin slurry that takes longer to dry.
Leaving dry chunks behind
Hard pieces can create inconsistent moisture and texture later.
Mixing different clay bodies
This makes the firing behavior unpredictable.
Adding glaze-contaminated scraps
Glaze chemistry can change the behavior of the reclaimed clay.
Drying the reclaim too quickly
Uneven drying can produce a difficult-to-process mass.
Throwing the reclaim before it is ready
Clay that contains too much water will not behave properly on the wheel.
Skipping wedging
Evenly mixed reclaim still benefits from thorough wedging before use.
How to Reclaim Pottery Clay More Efficiently
The easiest way to improve your reclaim process is to make it part of your normal studio routine.
Keep a dedicated bucket beside your wheel.
Put clean throwing trimmings into it immediately.
Keep different clay bodies separate.
Remove obvious contaminants before they enter the bucket.
Then process reclaim before the container becomes unmanageable.
This approach is much easier than waiting until you have several months of dried scraps.
Small batches also dry more predictably.
More importantly, regular reclaim turns waste management into a normal studio habit rather than a giant cleanup project.
Frequently Asked Questions
Can you reclaim pottery clay after it completely dries?
Yes. Completely dry clay can usually be broken down and rehydrated. It simply takes longer to absorb water than fresh trimmings.
How many times can you reclaim clay?
There is no fixed number. Clay can often be reclaimed repeatedly as long as it remains suitable for your intended use and does not become contaminated.
Can I reclaim clay without a pug mill?
Yes. Small batches can be reclaimed using water, a container, an absorbent drying surface, and wedging.
Why is my reclaimed clay too sticky?
It probably contains too much water. Allow it to dry gradually on an absorbent surface until it reaches a plastic consistency.
Can I mix different clay bodies during reclaiming?
You should generally keep different clay bodies separate. Mixing them can change their firing behavior and make the final material unpredictable.
Is reclaimed clay good for throwing?
Yes. Properly reclaimed clay can work very well for throwing, handbuilding, and other ceramic processes.
Final Thoughts
Learning how to reclaim pottery clay is one of the easiest ways to make a home pottery studio more efficient.
You do not need expensive machinery to start.
Instead, begin with clean scrap collection, careful sorting, water, patience, and proper drying.
As your clay volume grows, you can consider upgrading the process with a pug mill.
Until then, manual reclaim can save usable clay from the trash while giving you another opportunity to turn failed work into something new.
Most importantly, keep your reclaim organized.
Separate clay bodies.
Keep glaze contamination out.
Label your containers.
Then process the material regularly instead of letting scraps pile up for months.
With a consistent system, much of the clay that looks like waste today can become tomorrow’s workable pottery clay.
