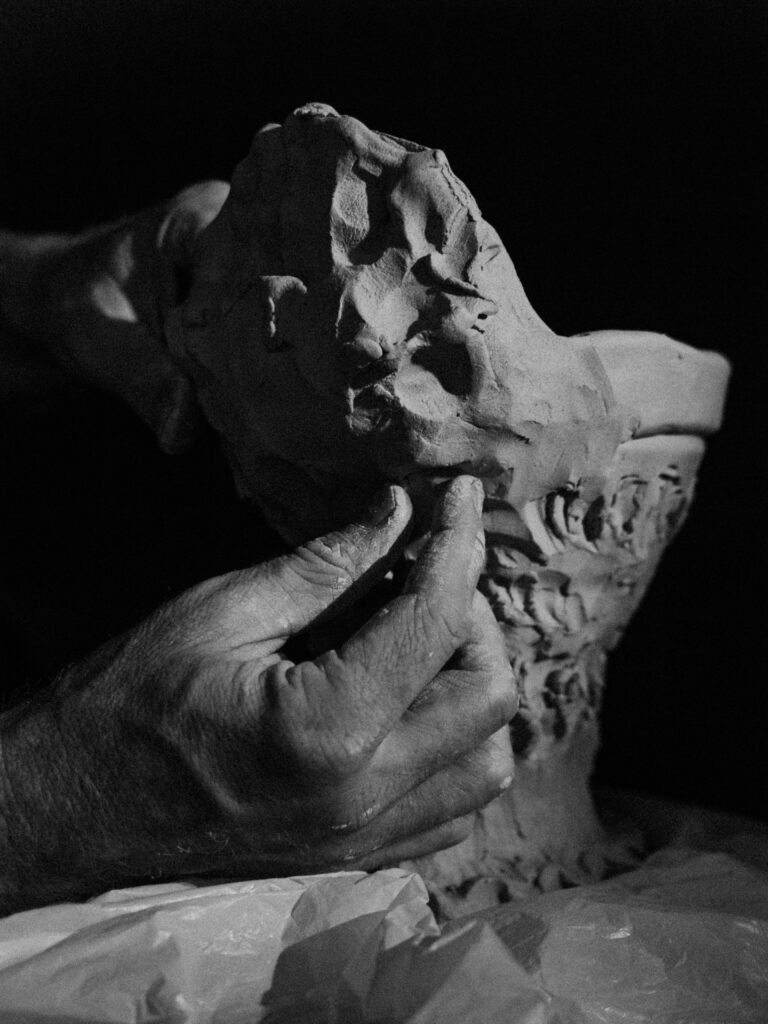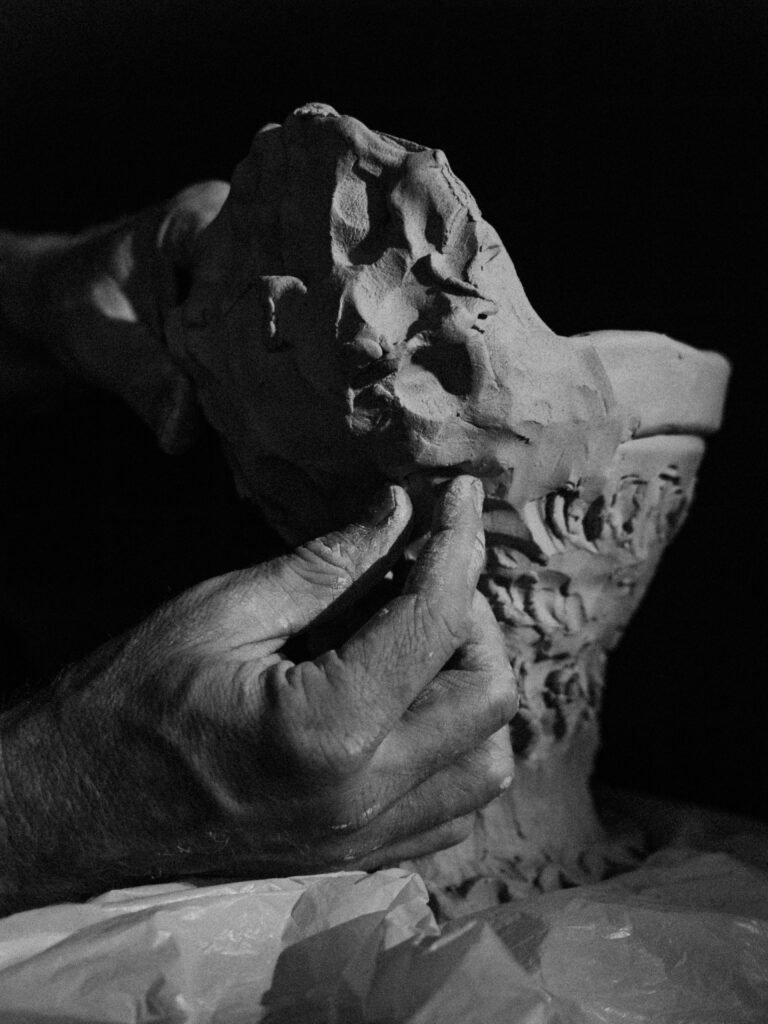
A plain clay surface can be beautiful. However, pottery texture techniques can give a simple form considerably more character without requiring complicated decoration.
Today, ceramic artists are putting more emphasis on tactile surfaces, visible handwork and marks that make each piece feel individual. Current ceramics coverage includes everything from carved surfaces and traditional Japanese techniques to recycled objects used as texture tools. (MUSUBI KILN)
The good news is that you don’t need a studio full of specialized equipment to start.
In fact, some of the most interesting textures come from ordinary objects.
Here are nine techniques worth trying.
1. Carve Directly Into the Clay
Carving is one of the simplest ways to create texture.
While the clay is still leather hard, use a carving tool to cut lines, grooves or patterns into the surface. You can keep the marks regular, or you can deliberately vary their spacing and depth.
For example, parallel lines can create a rhythmic pattern on a vase. Meanwhile, irregular cuts can give a handbuilt bowl a more organic appearance.
The depth matters, too.
Shallow cuts create subtle shadows. Deeper carving creates stronger contrast and gives the surface a more sculptural quality.
Therefore, start lightly and deepen the marks gradually rather than removing too much clay at once.
2. Press Objects Into Wet Clay
You don’t always need a pottery-specific tool.
Leaves, fabric, lace, shells, textured wood and household objects can all create impressions in soft clay.
This approach has become particularly interesting in contemporary surface decoration because it encourages potters to look beyond conventional ceramic tools. Pottery Making Illustrated recently featured an approach using ordinary objects to create and reimagine clay textures. (Default)
Before pressing an object into your work, test it on a scrap piece of clay.
Some objects release cleanly.
Others stick.
Some leave a surprisingly subtle impression.
That experimentation is part of the process.
3. Try Sgraffito
Sgraffito involves scratching through one surface layer to reveal another underneath.
A common approach is to apply a contrasting slip or underglaze and then scratch through it once the surface reaches the appropriate stage.
The exposed clay underneath creates the contrast.
Because of this, sgraffito can produce anything from simple geometric lines to detailed illustrations.
It also works particularly well when the design follows the shape of the vessel rather than simply sitting on top of it.
If you’re new to the technique, start with a small tile. That lets you test your tool pressure and design before working on a finished pot.
4. Use Stamps and Homemade Texture Tools
Stamps make repeated patterns much easier.
You can purchase ceramic stamps, but you can also make your own.
Wood, clay, foam, carved rubber and other materials can produce useful impressions. Even discarded household objects can become texture tools when they have an interesting shape.
Consequently, your studio doesn’t need to look like a professional tool showroom.
Keep a small collection of objects that create marks you like.
Then test them on slabs before using them on finished forms.
5. Add Texture With a Slab
Slab building creates an especially good opportunity for surface decoration.
Because the clay begins as a flat sheet, you can work on the surface before assembling the final form.
You might impress fabric into the slab, carve a pattern, add texture with a stamp or create repeated marks with a rib.
Afterward, you can build the slab into a tray, vase, planter or sculptural form.
A slab roller can make this process considerably more consistent because it produces slabs with controlled thickness. The Kiln Depot currently carries multiple slab roller options for handbuilding and studio work. (The Kiln Depot)
However, a slab roller isn’t required to experiment.
A rolling pin and thickness guides can work perfectly well when you’re starting.
6. Experiment With Natural Textures
Nature provides an enormous collection of texture ideas.
Leaves are an obvious starting point, but you can also experiment with bark, grasses, seed pods and other non-toxic natural materials.
Press the material gently into the clay and then remove it carefully.
The result can be subtle rather than dramatic.
That can actually be an advantage.
A shallow botanical impression under a translucent glaze may produce a much softer effect than a deeply carved design.
Therefore, consider what you want the finished piece to feel like before deciding how deep to make the texture.
7. Build Texture Onto the Surface
Texture doesn’t always have to be removed from the clay.
You can also add material.
Small coils, slabs, dots and other clay pieces can be attached to a surface to create relief.
This works particularly well for sculptural pottery and handbuilt forms.
However, attachment matters.
Score and slip joining surfaces properly, and make sure the added clay is compatible with the main form. Otherwise, the different pieces may separate during drying or firing.
Keep the additions reasonably consistent in thickness as well.
Large, thick additions can dry at a different rate from the underlying form, which increases the risk of cracking.
8. Use the Wheel to Create Texture
Texture isn’t limited to handbuilding.
Wheel-thrown forms can also become highly tactile.
For instance, you can use a rib to create ridges while the clay rotates. You can also use controlled tool movement to create chattering, grooves or rhythmic marks.
Because the wheel provides consistent rotation, repeated patterns can develop naturally.
A variable-speed pottery wheel can be especially useful here because you can adjust the rotation speed as you move from centering and shaping into surface work. The Kiln Depot’s guide to variable-speed pottery wheels explains why speed control matters during different stages of throwing. (The Kiln Depot)
9. Combine Two or Three Techniques
The most interesting surfaces often combine techniques.
For example, you could:
Carve + impress
Carve a primary pattern, then add small impressed marks around it.
Stamp + sgraffito
Create a repeated stamped background and add drawn lines over the top.
Texture + reactive glaze
Create physical texture first, then use a reactive glaze to emphasize the highs and lows.
That last combination can be particularly effective because glaze naturally collects differently across a textured surface.
However, restraint matters.
If every part of a pot contains a different texture, the final surface can become visually confusing.
Instead, choose one dominant technique and use a second technique as an accent.
When Should You Add Texture?
Timing depends on the technique.
Soft clay is excellent for pressing objects into the surface. Leather-hard clay, meanwhile, is usually easier to carve cleanly.
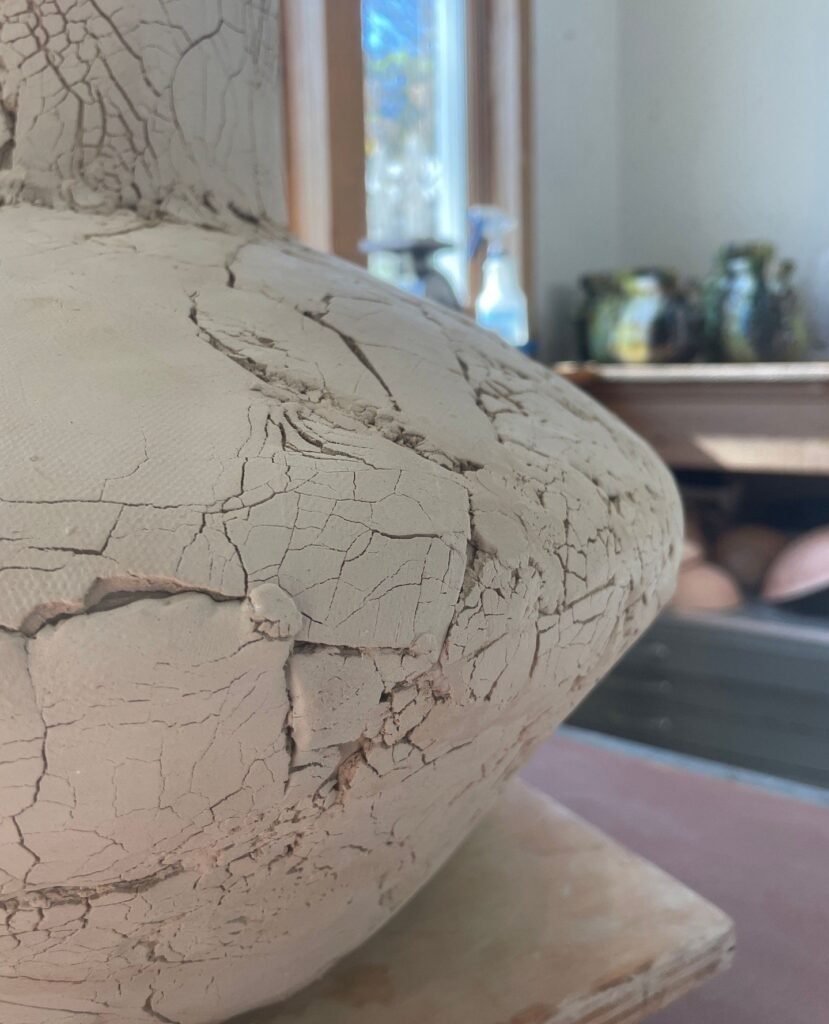
Very dry clay becomes increasingly difficult to modify without chipping or creating unwanted cracks.
Therefore, pay attention to moisture content.
If your clay feels too soft, wait.
If it has become too dry, avoid forcing a detailed carving technique onto it.
Learning to recognize the right working stage is just as important as learning the tool itself.
How Texture Changes After Firing
Clay texture rarely looks exactly the same after firing.
The surface may shrink.
Sharp edges may soften slightly.
Glaze can also dramatically change the appearance.
For example, a glaze may pool inside carved lines while becoming thinner across raised areas. As a result, relatively simple texture can create significant visual contrast after firing.
This is one reason test tiles are valuable.
Make a small textured sample before committing an elaborate design to an important piece.
Then fire it using your normal clay and glaze combination.
You’ll quickly learn what survives the firing and what becomes too subtle.
Don’t Chase Perfect Texture
One of the biggest advantages of working with clay is that the material records the maker’s hand.
A slightly uneven line isn’t necessarily a problem.
Neither is a small difference between repeated impressions.
In fact, contemporary ceramic surfaces increasingly celebrate those differences.
Current ceramics programming and workshops continue to emphasize surface design, carving, impressions and tactile experimentation. (Ceramic School)
Therefore, don’t assume every mark needs to look machine-made.
Sometimes the imperfect mark is the most interesting one.
The Best Texture Tool May Already Be in Your Studio
Before buying another specialized tool, look around.
A piece of textured fabric could become a slab-printing surface.
An old wooden object might create an interesting impression.
A homemade stamp could produce a pattern you can’t get from a commercial tool.
Likewise, a simple carving tool may give you more possibilities than a drawer full of specialized accessories.
The goal isn’t to collect tools.
The goal is to develop a vocabulary of marks that becomes recognizable as your work.
Final Thoughts
Pottery texture techniques don’t have to be complicated.
Start with one idea.
Press something into clay.
Carve a line.
Try a stamp.
Make a small slab and experiment with texture before building it into a form.
Then fire the test.
As your confidence grows, combine techniques and see how your glaze responds.
Most importantly, pay attention to which marks you enjoy making.
The strongest ceramic surfaces aren’t necessarily the most complicated ones. Instead, they are surfaces where texture, form and firing work together.
So experiment, keep your test pieces and don’t be afraid of variation.
Your next favorite pottery texture might come from something you were about to throw away.