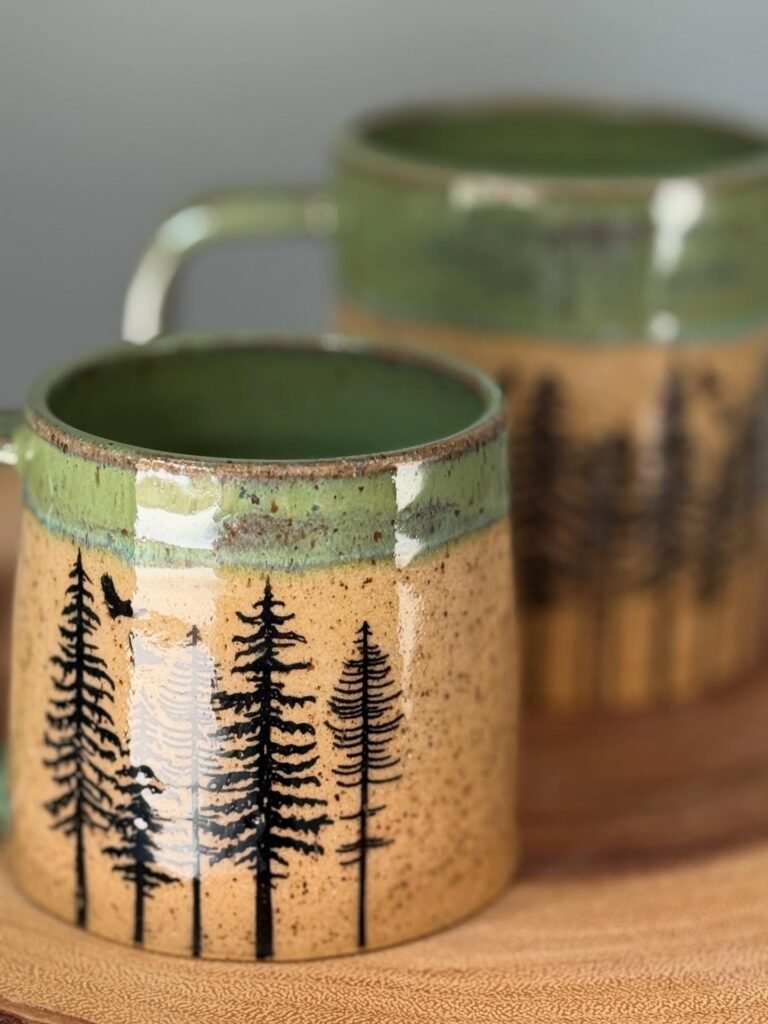
Underglaze on pottery gives you much more control over color, line, and surface decoration than many beginners expect. You can brush it onto greenware or bisqueware, build up several layers, carve through it, and often cover it with a clear glaze before firing.
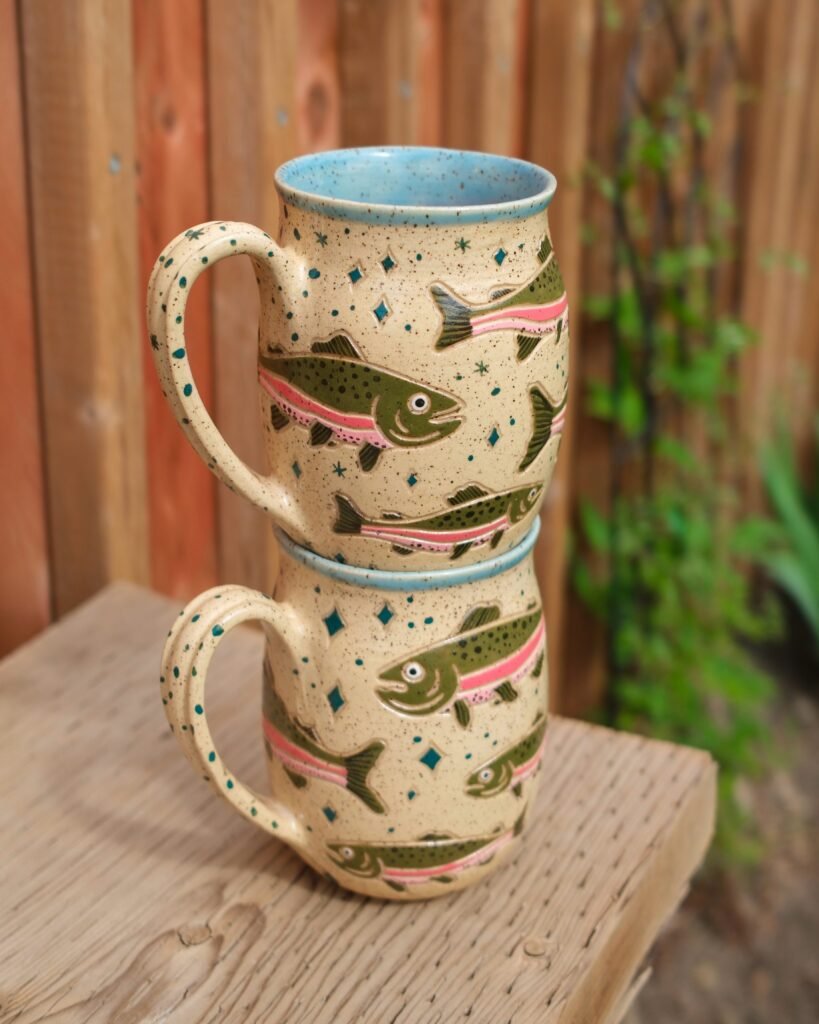
That flexibility makes underglaze useful for both simple pottery projects and highly detailed ceramic decoration.
However, the application stage is only part of the process.
The clay stage, number of coats, thickness, glaze compatibility, and firing temperature can all affect the final result.
Here is how to use underglaze effectively without making the process more complicated than it needs to be.
What Is Underglaze?
Underglaze is a ceramic decorating material designed to color clay surfaces.
Despite its name, it does not always have to go underneath a traditional glaze.
You can use many underglazes on their own, depending on the manufacturer’s instructions and the finish you want.
Some potters use underglaze for solid blocks of color.
Others use it for drawings, lettering, patterns, illustrations, or detailed surface work.
Because it behaves differently from many traditional glazes, underglaze gives you more freedom to treat pottery almost like a canvas.
When Should You Apply Underglaze?
You can apply underglaze at different stages of the pottery process.
The most common options are leather-hard clay, bone-dry greenware, and bisqueware.
Each stage has advantages.
Underglaze on Greenware
Applying underglaze to unfired clay allows the decoration to become part of the surface before the first firing.
This works particularly well for sgraffito.
Apply the underglaze to the clay surface, allow it to reach the appropriate stage, and then scratch through the colored layer to reveal the clay beneath.
The result can look especially clean when you use contrasting colors.
Underglaze on Bisqueware
Bisqueware gives you a harder surface to work on.
That makes detailed painting easier for many potters.
You can also handle the piece without worrying about the clay deforming as easily.
However, bisqueware is porous.
As a result, it can absorb underglaze quickly.
A controlled brush technique helps prevent uneven application.
How Many Coats of Underglaze Should You Use?
There is no universal number.
Many products work well with multiple thin coats rather than one thick application.
A common approach is to build color gradually.
Apply one coat.
Allow it to dry.
Then add another.
Continue until you achieve the coverage you want.
The manufacturer’s instructions should take priority because formulations vary.
Thick applications can behave differently during firing and may obscure fine details.
Therefore, avoid assuming that more underglaze automatically means stronger color.
How Do You Apply Underglaze?
A brush is the simplest option.
Use a soft, suitable brush and apply the material evenly.
For large areas, wider brushes can make coverage easier.
For detail work, switch to a smaller brush.
You can also use sponges, stamps, squeeze bottles, or other decorating tools.
The right method depends on the effect you want.
Brush Application
Brushes work well for illustrations, lettering, and controlled color blocking.
Keep your strokes reasonably consistent.
If the first coat looks thin, resist the temptation to apply a very heavy layer immediately.
Allow it to dry first.
Then add another coat.
Stencils and Stamps
Underglaze also works well with repeat patterns.
A stencil can create crisp shapes.
A stamp can produce repeated marks.
These techniques become especially useful when you want a consistent design across several pieces.
Can You Mix Underglaze Colors?
Many potters experiment with layering and mixing colors.
However, test the combination before using it on a finished piece.
Firing can change how colors interact.
Two colors that look attractive when wet may produce a different result after firing.
Therefore, make a small test tile.
Record the colors you used and the firing temperature.
That creates a reference you can return to later.
Can You Put Glaze Over Underglaze?
Yes, in many cases you can apply a compatible glaze over underglaze.
Clear glaze is particularly useful because it can add a glossy surface while allowing the underglaze decoration to remain visible.
However, compatibility matters.
Different manufacturers formulate products differently.
Therefore, follow the instructions for the specific underglaze and glaze you are using.
A test tile is still the safest way to confirm the result before committing to a finished piece.
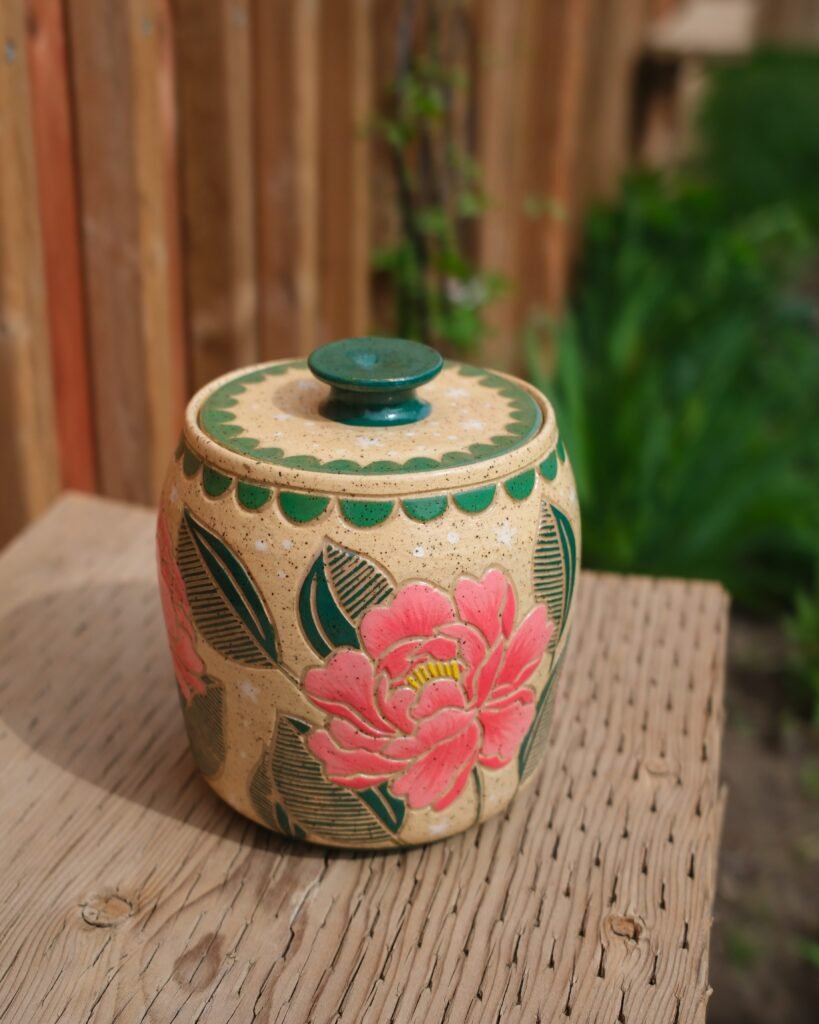
Does Underglaze Need Clear Glaze?
No.
Underglaze does not automatically require a clear glaze.
Whether you add one depends on the finish you want and the specific product.
An unglazed underglaze surface can produce a more matte appearance.
A compatible clear glaze can create a different surface and may make colors appear more saturated or glossy.
The choice is artistic as much as technical.
What Happens to Underglaze During Firing?
Firing transforms the materials.
The exact result depends on the underglaze, clay body, firing temperature, atmosphere, and any glaze applied over it.
Some colors remain close to their unfired appearance.
Others change significantly.
That is why test tiles are so valuable.
A small test can tell you far more than judging the wet color on the pot.
Firing Temperature Matters
Do not assume that an underglaze designed for one firing range will perform identically at another.
Always check the manufacturer’s recommended firing range.
This becomes especially important when you work at Cone 6 or Cone 10 rather than low-fire temperatures.
The Kiln Depot’s existing Cone 6 vs. Cone 10 guide explains how firing temperature and atmosphere can affect ceramic surfaces and glaze results. (The Kiln Depot)
Can You Use Underglaze for Sgraffito?
Yes.
Underglaze is one of the most useful materials for sgraffito decoration.
Apply the underglaze to the clay surface.
Then use a sharp tool to remove selected areas.
The exposed clay creates contrast against the remaining colored surface.
You can use this method for:
- Botanical drawings
- Geometric patterns
- Lettering
- Illustrations
- Abstract marks
- Repeating designs
Start with a simple test.
Sgraffito becomes much easier once you learn how much pressure your clay and underglaze combination requires.
Why Does My Underglaze Look Uneven?
Uneven color can have several causes.
The application may be too thin.
The brush may hold inconsistent amounts of material.
The bisque surface may absorb the underglaze at different rates.
You may also be applying coats before the previous layer has dried properly.
The solution is usually simple.
Apply thinner, more controlled coats.
Allow each coat to dry.
Then inspect the surface under good lighting before adding another layer.
Why Did My Underglaze Change Color After Firing?
Color changes are normal enough that you should never judge a new underglaze combination solely from its wet appearance.
Firing temperature plays a major role.
The clay body can also influence the final appearance.
A clear glaze may change the color again.
Consequently, test the complete system rather than testing the underglaze alone.
Use the same clay, underglaze, clear glaze, and firing temperature that you plan to use on your finished work.
How Should You Test Underglaze?
A simple test tile can save an entire project.
Make several small tiles from your normal clay.
Apply different underglaze combinations.
Label each one.
Then fire them using your normal schedule.
If you plan to use clear glaze, test that as well.
Create a small reference library over time.
Eventually, you will know which colors and combinations behave predictably in your own kiln.
Does Your Kiln Affect the Result?
Yes.
Your kiln provides the firing environment that turns the decorated clay into ceramic.
Temperature accuracy, firing schedule, atmosphere, and cooling can all influence the final surface.
That does not mean you need an expensive kiln to experiment with underglaze.
It does mean you should know what temperature your clay and decorating materials require.
The Kiln Depot currently carries electric kilns from several manufacturers, including compact options such as the Skutt KM-714. (The Kiln Depot)
If you are building a home studio, choose a kiln based on the materials and firing range you actually plan to use rather than choosing a model simply because it is large.
Frequently Asked Questions
Can you use underglaze on pottery before bisque firing?
Yes. Many underglazes can be applied to greenware before bisque firing. Always follow the product manufacturer’s instructions.
Can you use underglaze on bisqueware?
Yes. Bisqueware provides a firm, porous surface that works well for many underglaze applications.
Can you glaze over underglaze?
Yes, compatible glaze can often be applied over underglaze. Test the combination first because products behave differently.
How many coats of underglaze should I use?
Use enough thin coats to achieve the desired coverage. The exact number depends on the product and the color.
Does underglaze change color when fired?
It can. Firing temperature, clay body, glaze, and atmosphere can all affect the final appearance.
Do you need clear glaze over underglaze?
Not necessarily. The choice depends on the finish you want and the manufacturer’s recommendations.
Final Takeaway
Underglaze gives potters an unusually flexible way to decorate clay.
You can paint it onto greenware or bisqueware.
You can build up layers.
You can carve through it.
You can combine it with clear glaze.
Most importantly, you can test and refine your surface before committing to a finished piece.
Start with small tiles.
Keep notes.
Use the firing temperature recommended for your materials.
Then build your own library of reliable color combinations.
As your technique develops, underglaze can move from a simple beginner decorating material to a serious tool for illustration, pattern, texture, and personal ceramic style.