You can reclaim clay without a pugmill. With a bucket, water, patience, and a little space, you can turn many pottery scraps back into usable clay.
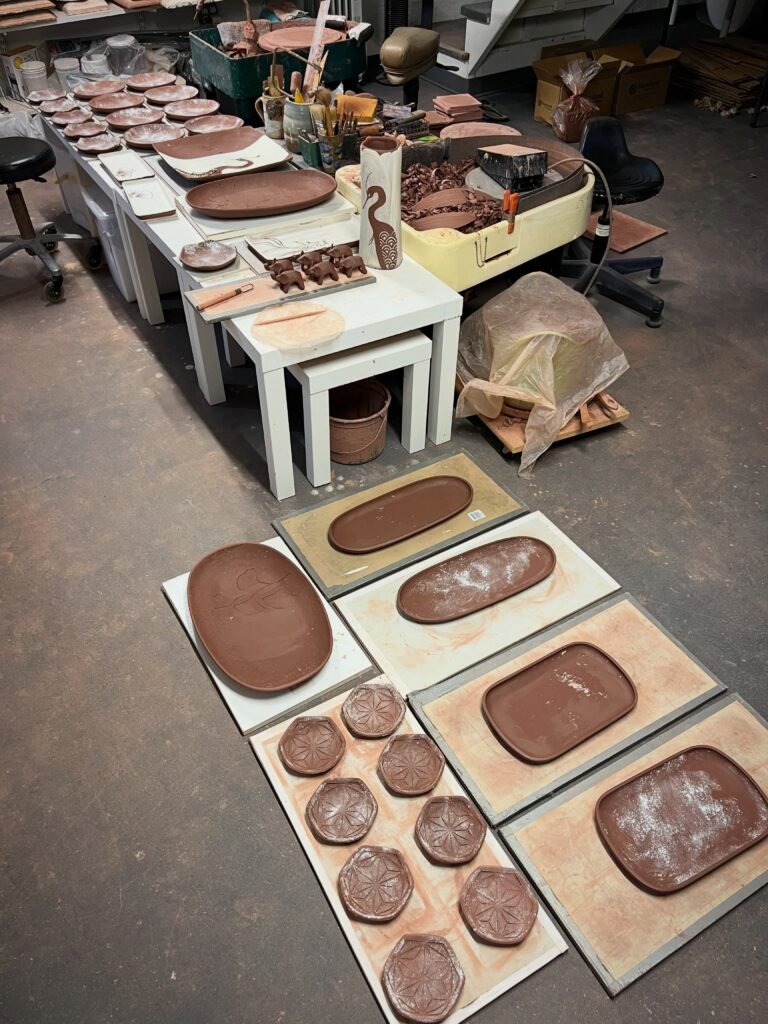
That matters because clay scraps accumulate quickly.
Trimmings pile up around the wheel. Failed pieces end up in the scrap bucket. Slabs leave behind smaller pieces that you cannot use immediately.
Instead of throwing that material away, you can reclaim it.
The process takes more time than using a pugmill. However, it works well for many home potters and small studios.
Here is a simple seven-step method.
1. Collect Your Clay Scraps
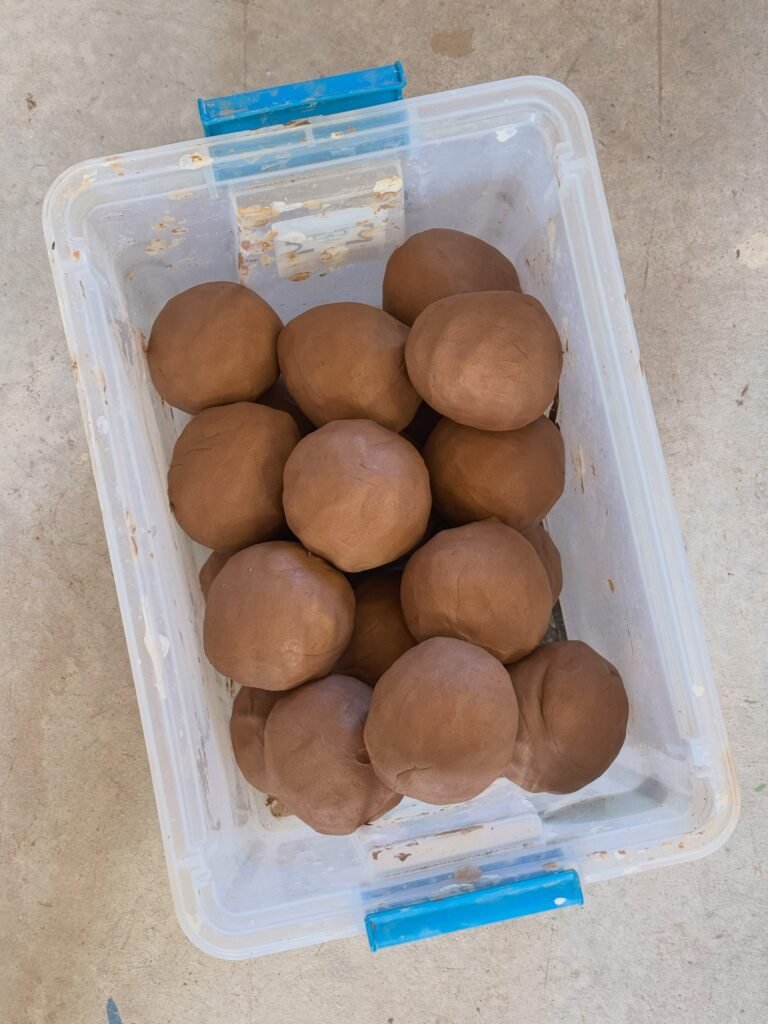
Start by separating usable clay scraps from everything else.
Keep trimmings, failed greenware, and unused wet clay in a dedicated container.
Avoid mixing clay with:
- Plaster
- Wood
- Metal
- Glaze materials
- Trash
- Other contaminants
Contamination can make reclaimed clay difficult or unsafe to use.
Therefore, create a scrap bucket near your wheel or workbench.
A simple system makes recycling much easier.
Keep Different Clay Bodies Separate
Do not casually mix different clay bodies.
For example, keep stoneware separate from porcelain and low-fire clay unless you deliberately want to create a mixed body for a specific purpose.
Different clays can have different shrinkage and firing characteristics.
As a result, mixing them can produce unpredictable results.
2. Let the Clay Dry Completely
You might think dry clay is useless.
Fortunately, it is not.
Completely dry clay actually makes the next stage easier because water can penetrate the material more evenly.
Break large scraps into smaller pieces first.
Then spread them out in a container or tray.
Let the pieces dry fully.
If the clay remains damp inside, the material will absorb water unevenly later.
Therefore, give thick pieces enough time to dry before you continue.
3. Break the Dry Clay Into Smaller Pieces
Once the scraps become completely dry, break them down.
You do not need to pulverize them into powder.
Instead, aim for small pieces that allow water to reach more of the clay quickly.
Place the pieces into a sturdy bucket.
Next, add enough water to cover them.
Some potters prefer to add water gradually. Others soak the scraps fully and let them sit.
Either approach can work.
The important thing is to allow the clay to absorb the water completely.
4. Let the Clay Slake
Now give the clay time to break down in the water.
This process is called slaking.
As the dry clay absorbs water, the pieces begin to fall apart.
Do not rush this stage.
Large pieces can take longer than small ones.
You can occasionally stir the mixture to help distribute the water. However, avoid unnecessary splashing and keep the work area controlled.
After enough time, the mixture should resemble a thick clay slurry.
5. Adjust the Moisture
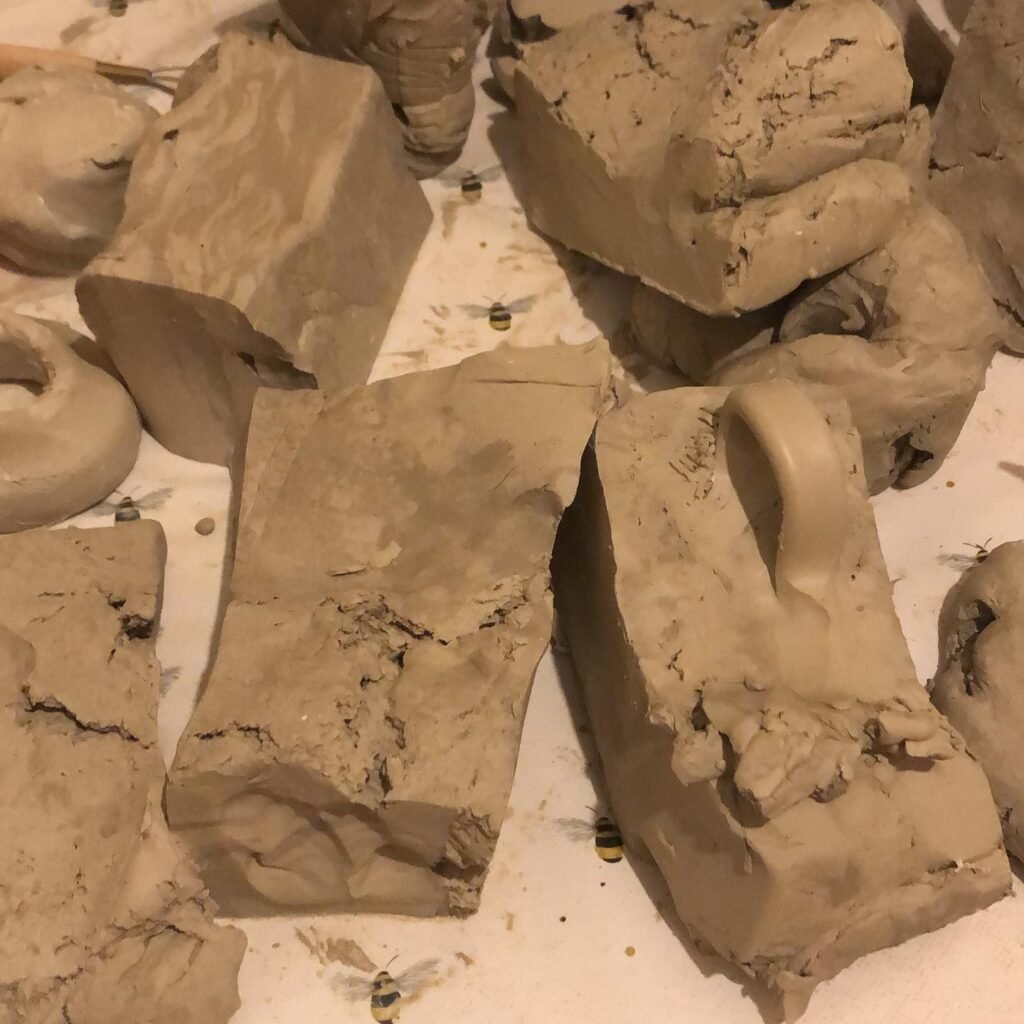
At this point, the reclaimed clay may contain far more water than you want.
Therefore, you need to remove some moisture.
One simple method involves spreading the slurry onto a porous surface that can absorb water.
Plaster bats can work well for this purpose.
You can also use other suitable reclaiming setups designed to remove moisture gradually.
Watch the consistency as the clay firms up.
You want workable clay, not mud.
Why Moisture Consistency Matters
Clay behaves differently at different moisture levels.
If the reclaimed material remains too wet, it becomes difficult to handle.
If you dry it too aggressively, the outside can become firm while the interior remains wet.
As a result, the clay may develop an inconsistent texture.
Slow, even drying gives you much better control.
6. Mix and Knead the Reclaimed Clay
Once the clay reaches a workable consistency, mix it thoroughly.
Break up firm sections.
Combine wetter and drier areas.
Then wedge the clay to create a more consistent mass.
Wedging also helps remove some trapped air and distributes moisture throughout the clay.
At this stage, compare the reclaimed clay with fresh clay from the same body.
Does it feel equally plastic?
Does it respond similarly when you compress or pull it?
If not, continue mixing and adjusting the moisture.
7. Test the Reclaimed Clay Before Using It
Do not immediately use your entire batch for an important project.
Instead, make a small test.
Throw a simple cylinder.
Build a small slab.
Or create a test tile.
Then dry and fire it using your normal process.
This step matters because reclaimed clay can behave differently from freshly prepared material.
For example, the clay may shrink differently if you mixed different batches together.
Testing lets you catch problems before they reach a finished piece.
Can You Reclaim Completely Dry Clay?
Yes.
Completely dry clay can usually absorb water again.
In fact, drying the scraps completely before slaking them can make the reclaiming process easier.
However, contamination changes the equation.
If the dry clay contains plaster, glaze chemicals, or other unwanted materials, do not simply add water and assume you can reuse it.
Keep your scrap stream clean from the beginning.
How Long Does Clay Reclaiming Take?
There is no single timetable.
The process depends on the amount of clay, the size of the scraps, the moisture content, the drying method, and the environment.
A small batch can move relatively quickly.
A large bucket of thick clay slurry can take considerably longer.
Therefore, do not plan a project around an exact reclaiming time unless you already know how your setup behaves.
Instead, judge the clay by its consistency.
Is Reclaimed Clay as Good as Fresh Clay?
It can be.
However, the result depends on how carefully you reclaim it.
Clean scraps from a single clay body usually give you the most predictable results.
Contamination, inconsistent moisture, and mixed clay bodies create more variables.
For that reason, good studio organization matters just as much as the reclaiming method.
A clean scrap bucket can save you considerable work later.
When Should You Buy a Pugmill?
Hand reclaiming makes sense when you have a manageable amount of scrap.
However, the calculation changes as your studio grows.
If you reclaim clay every week, process large quantities, or spend significant time preparing scrap, a pugmill can save substantial labor.
A pugmill can mix and condition clay much faster than most manual methods.
The Kiln Depot already carries pugmill equipment for studios that have reached that stage. Its Peter Pugger guide explains how pugmills can combine clay recycling and mixing into a single workflow. (The Kiln Depot)
Therefore, think of a pugmill as a productivity investment, not a requirement for every potter.
Hand Reclaiming vs. Using a Pugmill
| Feature | Hand reclaiming | Pugmill |
| Initial equipment cost | Low | High |
| Labor | Higher | Lower |
| Small batches | Excellent | Often unnecessary |
| Large batches | Slow | Much faster |
| Moisture consistency | Requires more work | More consistent |
| Best for | Home and small studios | Busy studios and production |
Neither method is automatically better.
Your production volume should determine the choice.
A beginner who generates one small bucket of scraps every few weeks probably does not need a pugmill.
Meanwhile, a production studio reclaiming clay every day may quickly outgrow manual methods.
How Can You Make Clay Reclaiming Easier?
Good organization makes the biggest difference.
First, place a scrap container near your main work area.
Next, keep different clay bodies separate.
Then, remove contaminants before they reach the bucket.
Finally, establish a regular reclaiming routine.
You might reclaim clay once a week rather than waiting until several buckets become full.
That simple habit keeps the process manageable.
Current ceramic guidance also emphasizes practical scrap collection and keeping clay debris off studio floors because dry clay can contribute to airborne dust. (Default)
Frequently Asked Questions
Can you reclaim clay without a pugmill?
Yes. You can dry, soak, slake, dewater, mix, and wedge clay by hand.
Can you reclaim bone-dry clay?
Yes. Dry clay can absorb water again during the slaking process, provided the material remains clean and suitable for reuse.
Can you reclaim clay scraps from a pottery wheel?
Yes. Wheel trimmings make excellent reclaim material when you keep them free from contaminants.
Can you mix different clay bodies when reclaiming clay?
You can, but doing so may change the resulting clay’s working and firing characteristics. Keeping clay bodies separate gives you more predictable results.
When should I buy a pugmill?
Consider a pugmill when manual reclaiming takes significant time, your scrap volume increases, or you need more consistent clay preparation.
Final Takeaway
You do not need a pugmill to reclaim pottery clay.
For many home potters, a simple reclaiming routine works perfectly well.
Collect clean scraps.
Let them dry.
Soak them thoroughly.
Remove excess water.
Mix and wedge the clay.
Then test the reclaimed material before using it on important work.
Most importantly, keep your scrap clay organized.
That small habit makes every later step easier.
As your studio grows, you may eventually reach the point where hand reclaiming consumes too much time. At that stage, a pugmill can turn a slow recycling process into a much faster part of your normal studio workflow.
Until then, reclaiming clay by hand is a practical way to save material, reduce waste, and get more use from the clay you already paid for.
