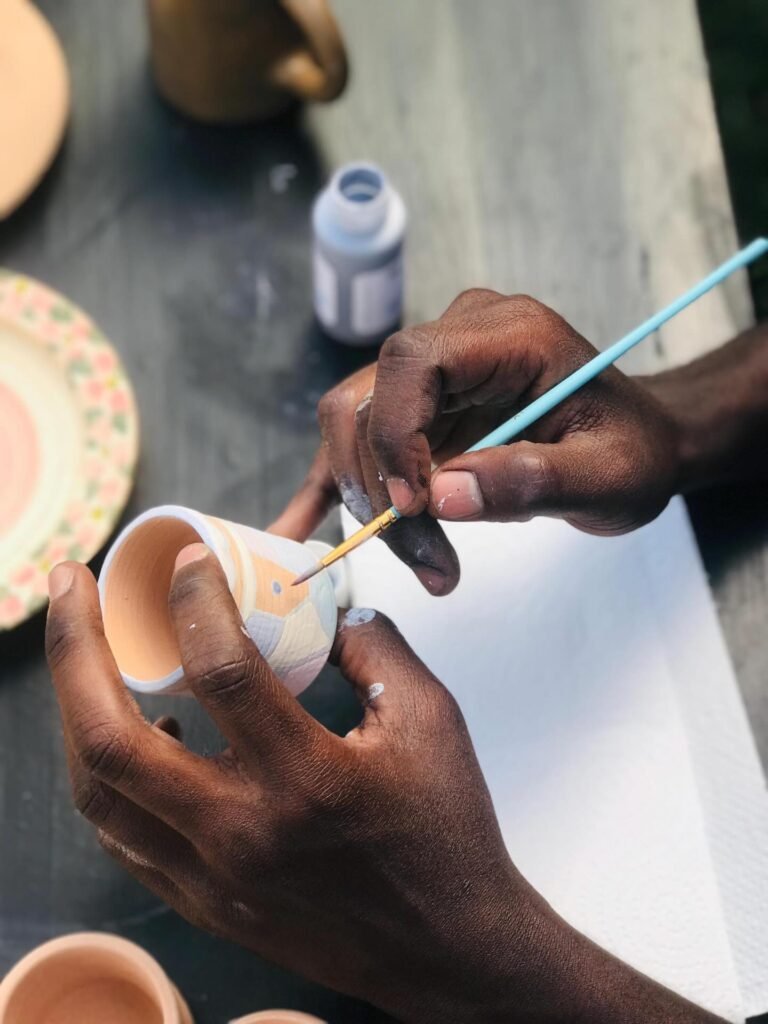
Learning how to apply pottery glaze takes practice.
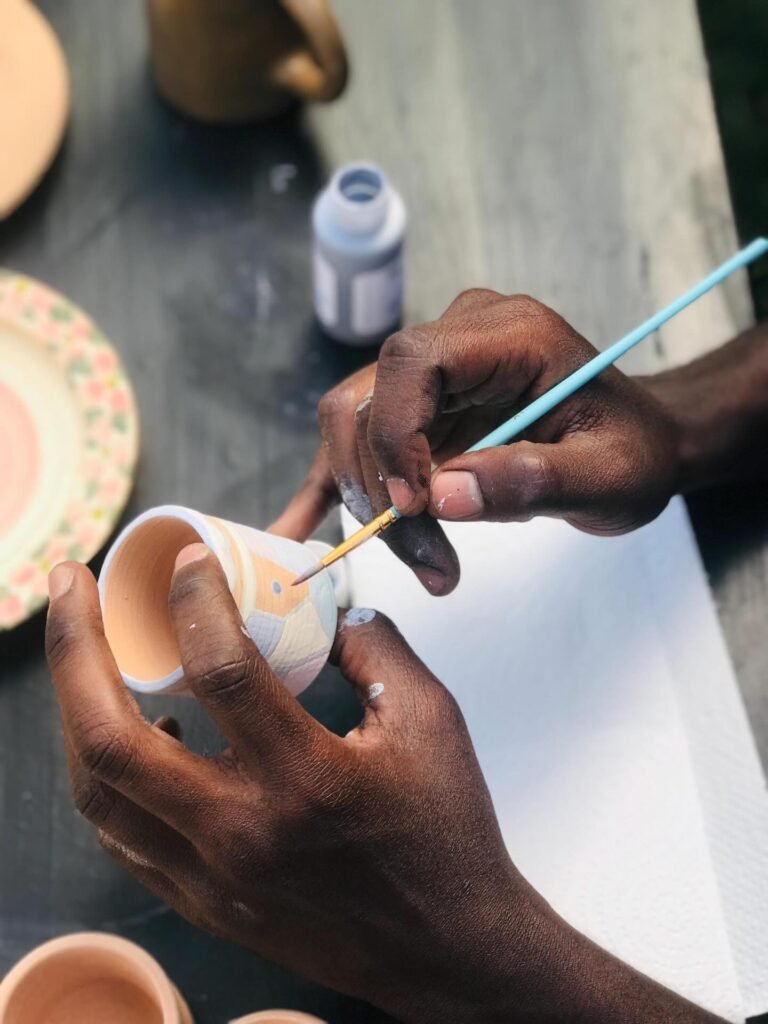
At first, glazing can seem easy. You put glaze on the pot and fire it.
In reality, small mistakes can change the final result.
Too much glaze can cause runs. Too little glaze can leave weak color. Uneven coats can create patchy surfaces. Glaze on the bottom can also stick your pot to the kiln shelf.
Fortunately, most glazing problems have simple causes.
With a consistent routine, you can get cleaner and more even results. You can also make the glazing process much easier.
Start With Clean Bisque Ware
Before applying glaze, clean your pottery.
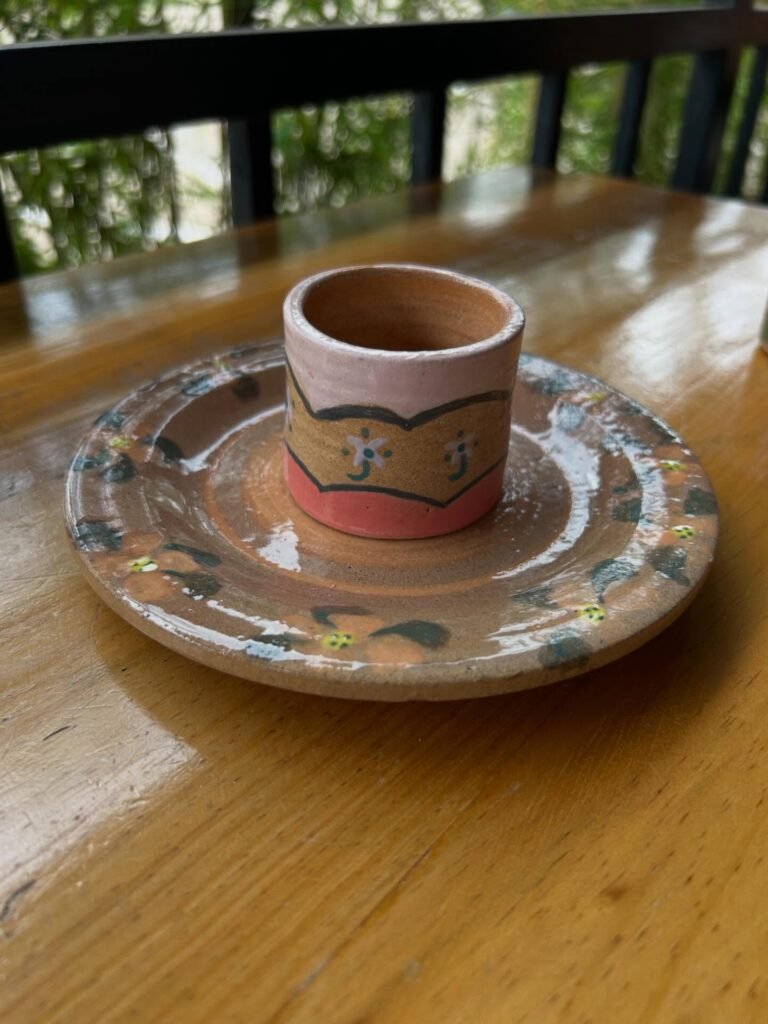
Bisque-fired clay can collect dust. That dust can interfere with glaze adhesion.
First, inspect the entire piece.
Next, use a clean, slightly damp sponge to remove loose dust. Avoid soaking the pottery. You only need enough moisture to clean the surface.
Pay special attention to rims, handles, corners, and textured areas.
Afterward, allow the piece to dry if it becomes damp.
A clean surface gives your glaze a better starting point.
Mix the Glaze Thoroughly
Glaze materials can settle at the bottom of a container.
Therefore, stirring is essential.
Mix the glaze until the material at the bottom has been fully incorporated. For larger batches, a suitable mixer can save time. Smaller amounts can usually be mixed by hand.
However, avoid adding too much air while mixing.
Too many bubbles can make application harder.
Once the glaze is mixed, check its consistency.
If you use a commercial glaze, follow the manufacturer’s instructions before adding water or making other changes.
How Thick Should Pottery Glaze Be?
There is no universal thickness for every glaze.
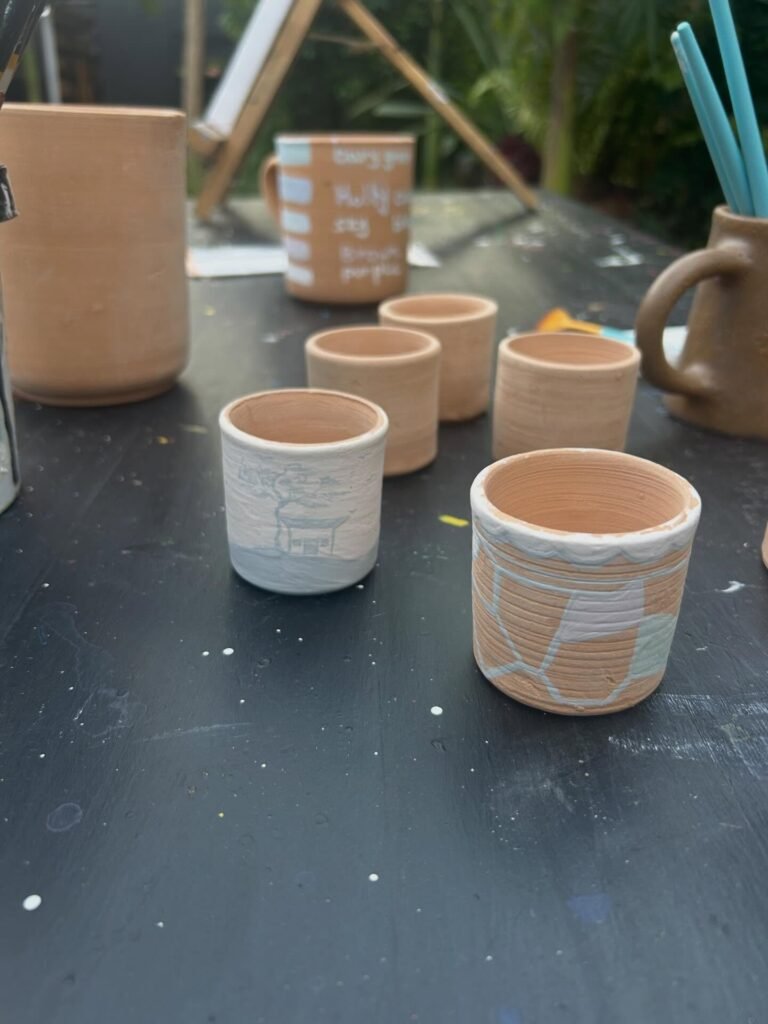
Different products behave differently.
Some brushing glazes need several coats. Others work best with a single dip. As a result, the manufacturer’s instructions should always come first.
Still, one rule is worth remembering:
More glaze is not always better.
A heavy coat can run during firing. It can also become rough or develop other surface problems.
On the other hand, a very thin coat may produce weak color.
The goal is an even application that matches the glaze manufacturer’s recommended thickness.
How to Brush Pottery Glaze
Brushing gives you excellent control.
It works especially well for small pieces, detailed surfaces, and decorative areas.
Start with a suitable glaze brush.
Load the brush well. Then apply the glaze in smooth strokes.
Try not to keep brushing the same area once the glaze starts to dry. Doing so can disturb the layer underneath.
Instead, let the first coat dry.
Then apply another coat if the glaze instructions require it.
For many brush-on products, several thinner coats produce a better result than one heavy coat.
However, always follow the directions for the specific glaze you are using.
How to Dip Pottery in Glaze
Dipping is useful when you need to glaze several pieces.
It can also give you consistent coverage.
First, mix the glaze thoroughly.
Next, hold the bisque piece securely.
Dip the piece into the glaze for the recommended amount of time. Then remove it smoothly.
Allow excess glaze to drain back into the container.
Afterward, inspect the surface.
Look for thin areas, thick spots, and missed sections.
If another coat is needed, allow the first layer to dry before continuing.
Dipping is fast. Even so, good results still depend on consistent technique.
How to Pour Glaze Onto Pottery
Pouring works well for bowls, vases, pitchers, and other hollow forms.
Begin by holding the piece securely.
Then pour glaze into the inside.
Rotate the pottery slowly so the glaze reaches the areas you want to cover.
Next, pour the excess glaze back into the container.
Finally, check the rim and outside surface.
Glaze often collects around edges. Remove any excess before firing.
This method can produce an even interior without requiring extensive brushing.
Keep the Bottom Free of Glaze
This step is critical.
Glaze should normally stay away from the area that will sit directly on the kiln shelf.
Why?
Because glaze melts during firing.
If it reaches the shelf, the glaze can fuse the pottery to the shelf. The result can damage the pot and the kiln furniture.
Therefore, clean the foot carefully before firing.
Use a damp sponge to remove unwanted glaze.
Then inspect the bottom again under good lighting.
Do not rush this step.
A few extra seconds can prevent a major kiln problem.
Why Does My Glaze Look Uneven?
Uneven glaze can have several causes.
Poor mixing is one possibility.
Uneven application is another.
The bisque surface can also absorb glaze at different rates.
For example, a rough area may absorb more glaze than a smooth area. Likewise, overlapping brush strokes can create thicker sections.
Consequently, try to keep your application consistent.
Rotate the piece as you work.
Also, look at the pottery from different angles.
Good lighting makes thin and thick areas easier to spot.
Why Is My Glaze Too Thick?
A thick glaze layer can come from several mistakes.
You may have applied too many coats. Alternatively, your dip may have lasted too long.
The glaze itself may also have become too concentrated.
Start by checking the product instructions.
Then review your application method.
If you brush the glaze, use lighter coats.
If you dip the pottery, focus on consistent timing.
Most importantly, test your technique before glazing a large batch.
What Causes Glaze Drips?
Glaze drips usually happen when too much material collects in one area.
They are common around rims, handles, edges, and the bottom of a piece.
Fortunately, they are often easy to catch before firing.
Inspect the pottery while the glaze is still unfired.
Look around the foot.
Check under handles.
Examine the inside of rims and narrow spaces.
If you find a thick area, remove the excess carefully.
Fixing the problem before firing is much easier than repairing it afterward.
How to Avoid Common Glazing Problems
Good glazing starts with consistency.
Keep your workspace clean. Mix the glaze properly. Follow the recommended application method.
Also, avoid changing several variables at once.
Suppose a glaze comes out too thick.
Do not immediately change the clay, glaze, number of coats, and firing schedule.
Instead, change one factor.
Then test again.
This approach makes troubleshooting much easier.
Over time, you will learn exactly how your favorite glaze behaves.
Test Your Glaze Before Firing Your Best Work
Testing can save you from a disappointing kiln opening.
Use a small test tile or an inexpensive bisque piece.
Apply the glaze using your planned technique.
Then fire it according to the appropriate instructions.
Afterward, inspect the result.
You can also compare different application methods.
For example, try one coat on one section. Use two coats on another. Then compare the results after firing.
This simple test can tell you far more than guessing.
It also lets you adjust your technique before glazing your best pottery.
Keep Notes About Your Glazing
A simple notebook can become one of your best studio tools.
Record the clay body you used.
Write down the glaze name.
Note the number of coats.
Also record the application method and firing temperature.
After firing, write down what happened.
Was the color too light?
Did the glaze run?
Was the surface rough?
Did the result match the sample?
These notes make future firings easier.
Furthermore, they help you repeat successful results.
Should You Use Wax Resist?
Wax resist can make foot cleanup easier.
Apply it to areas that need to remain glaze-free. Then apply the glaze as normal.
The wax helps prevent glaze from sticking to those areas.
However, wax is not a replacement for inspection.
Always check the bottom before loading the kiln.
Remove any glaze that remains on the kiln contact area.
That final check still matters.
A Simple Pottery Glazing Routine
A consistent routine can make glazing much easier.
First, clean the bisque piece.
Next, mix the glaze thoroughly.
Then, choose your application method.
Apply the glaze evenly.
Afterward, allow it to dry.
Add more coats only when needed.
Next, inspect the entire piece.
Clean the foot carefully.
Finally, load the kiln according to the correct firing instructions.
This routine is simple.
More importantly, it is repeatable.
How Do You Get Better at Glazing?
Practice is the fastest way to improve.
Your first few glazed pieces may not look perfect.
That is normal.
Instead of trying to eliminate every mistake immediately, focus on understanding them.
If the glaze runs, examine the thickness.
If the color looks weak, check your coverage.
If one side looks different from another, look at your application technique.
Then make one change.
Test again.
Over time, your hands will become more consistent.
Eventually, glazing becomes less about guessing and more about control.
Frequently Asked Questions
How many coats of pottery glaze should I use?
It depends on the glaze. Follow the manufacturer’s instructions. Some brushing glazes need several coats, while dipping glazes may require only one application.
Why does my pottery glaze run?
Excess glaze is a common cause. Thick application can make the glaze flow during firing. Check the recommended application thickness for your product.
Can I fix thick glaze before firing?
Usually, yes. Remove excess glaze while the piece is still unfired. A damp sponge can help with cleanup.
Should I glaze the bottom of my pottery?
Normally, no. Keep the kiln contact area free of glaze unless your specific firing method calls for something different.
Is dipping pottery better than brushing?
Neither method is always better. Dipping is fast and useful for larger batches. Brushing provides more control over small areas.
Why does my glaze look patchy?
Poor mixing, uneven application, different bisque absorption, and firing conditions can all contribute. Testing can help identify the cause.
Final Thoughts
Learning how to apply pottery glaze is mostly about consistency.
Start with clean bisque ware.
Mix your glaze well.
Use the correct application method.
Avoid excessive thickness.
Keep the foot clean.
Then test your results.
Most importantly, do not expect the kiln to fix a poor glaze application.
The firing can change the glaze dramatically. However, it cannot turn an uneven coat into a perfectly controlled one.
Take your time before the kiln door closes.
Inspect every piece.
Keep notes.
Make small changes.
With practice, your glazing will become faster, cleaner, and more predictable.
That is when glazing stops feeling like a gamble and starts becoming another part of your pottery process.