A pottery kiln setup involves much more than finding an empty corner for your kiln. Before you fire your first load, you need to consider electrical service, ventilation, flooring, clearance, kiln furniture, and access around the equipment.
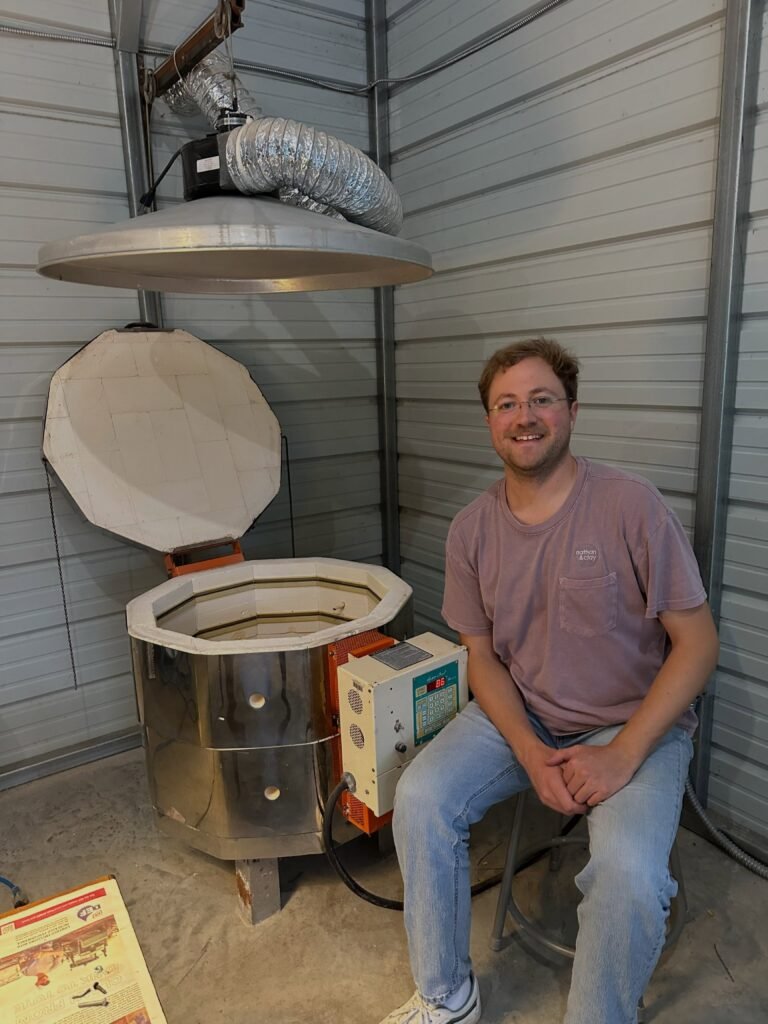
For U.S. potters setting up a first home kiln, these details can feel overwhelming. Recent pottery discussions show beginners asking about garage installations, electrical requirements, ventilation, and fire-safe surfaces as they move from community studios to firing at home.
The good news is that you can plan the entire setup before the kiln arrives.
A thoughtful pottery kiln setup can make firing easier, safer, and much less stressful.
Choose the Right Location for Your Pottery Kiln
Start with the room.
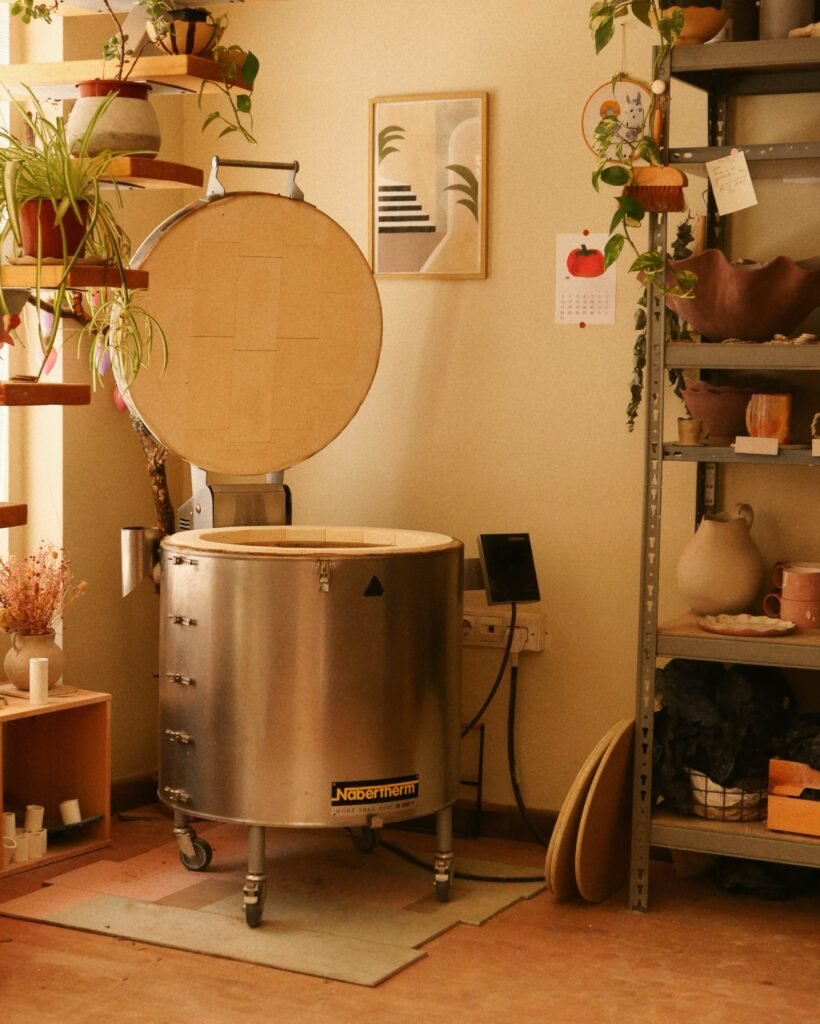
A garage, dedicated studio, utility area, or other suitable workspace may work depending on the kiln and local requirements. However, the room needs enough space around the kiln for safe operation, maintenance, loading, and ventilation.
Do not choose the location based only on where the kiln fits.
Think about how you will actually use it.
You need enough room to load shelves comfortably. You also need space to move hot or recently fired ware safely after the firing.
Keep combustible materials away from the kiln according to the manufacturer’s requirements.
Before installation, check the kiln manufacturer’s clearance recommendations. Local building, electrical, and fire codes may also impose additional requirements.
Check the Electrical Requirements First
Electrical service is one of the most important parts of a pottery kiln setup.
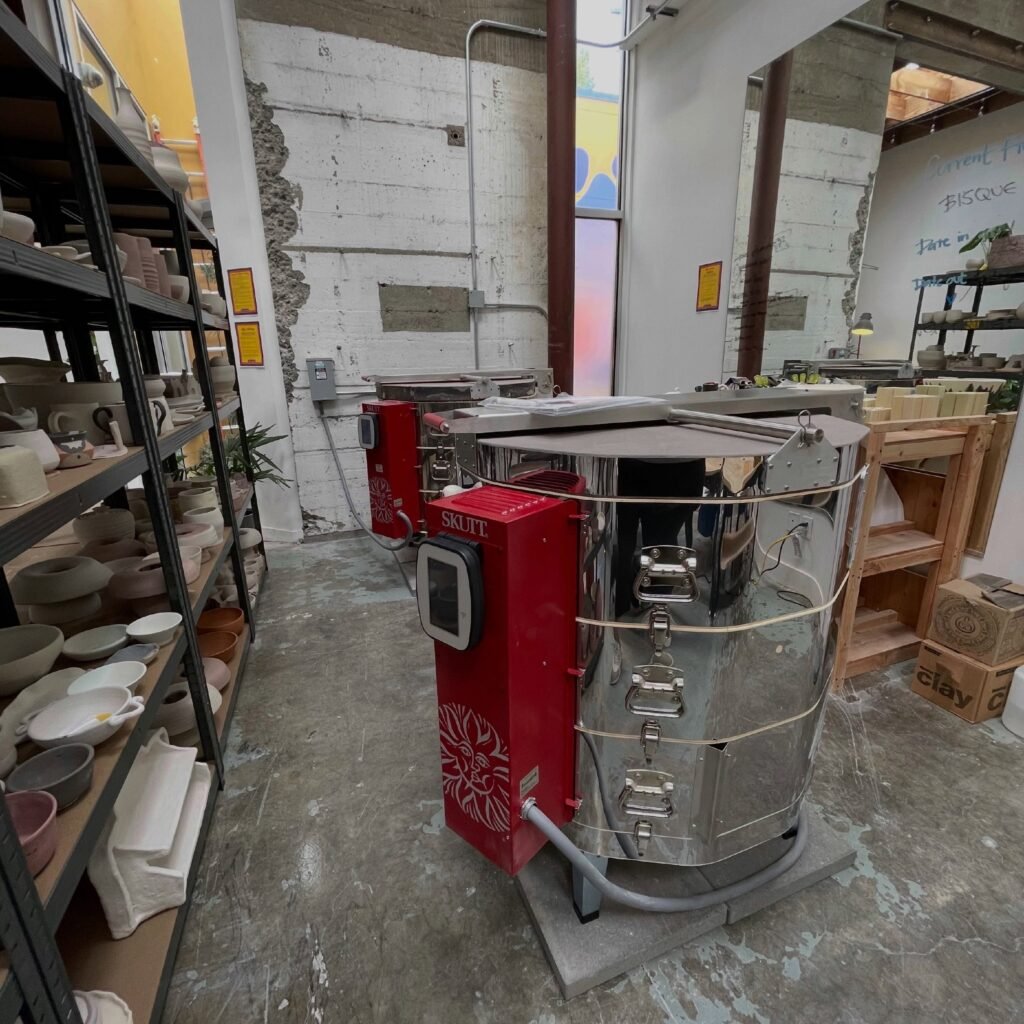
Electric kilns can require substantial power. Your kiln’s voltage, amperage, phase, and circuit requirements depend on the specific model.
Start by reading the data plate.
Write down the voltage and maximum amperage.
Then check the manufacturer’s installation specifications.
Do not assume that an existing outlet will work simply because it looks compatible.
A recent Reddit discussion involved a potter asking about a 240-volt kiln circuit with a 50-amp breaker and NEMA 6-50 connection. That conversation highlights why kiln buyers should confirm the exact electrical requirements before installation rather than guessing from the plug alone.
When you are unsure about electrical work, hire a qualified electrician.
The electrician can evaluate your panel, circuit capacity, wiring, disconnect requirements, and receptacle before you connect the kiln.
That small step can prevent a very expensive installation mistake.
Plan Kiln Ventilation
Ventilation deserves serious attention during your pottery kiln setup.
Firing pottery can release fumes and gases from clay, glazes, organic materials, and other components. Your ventilation plan should therefore match the kiln, room, and firing practices.
A kiln vent can help manage emissions and improve the studio environment.
However, opening a window does not automatically create an adequate ventilation system.
Your room layout matters.
Your kiln model matters.
Your vent system matters.
Recent U.S. pottery discussions show how much confusion exists around kiln ventilation. One potter setting up a Skutt kiln in a basement described using an Orton vent system and routing the exhaust outdoors.
Another recent discussion involved a potter deciding whether an environment kit made sense for a garage installation.
These questions show why you should follow the kiln manufacturer’s ventilation guidance instead of relying on a generic rule.
For additional kiln troubleshooting information, see our kiln problems and troubleshooting guide.
Protect the Floor
Your kiln installation should also account for the floor.
Think about the surface underneath the kiln and the manufacturer’s requirements for the installation.
Concrete may provide a different starting point from wood, vinyl, rubber, or another flooring material.
Do not improvise a heat-resistant surface without checking the kiln manufacturer’s instructions.
A recent home kiln setup discussion involved a potter placing cement board over a concrete floor as part of the installation. Another potter planning a small studio was considering fire-resistant protection because the existing floor used wood-like interlocking tiles.
The exact solution depends on your kiln and location.
Use the manufacturer’s installation requirements as your starting point.
Leave Room Around the Kiln
A kiln should not sit tightly against a wall just because the available space is limited.
Give yourself enough room for safe access and maintenance.
You may need to reach the controller, inspect the elements, service the thermocouple, or work around the kiln during loading.
Space also makes routine maintenance easier.
If you have to squeeze between the kiln and a wall every time you load shelves, you will quickly regret the original placement.
Think about the entire workflow.
Where will you stage shelves?
Where will you place pottery before firing?
Where will you put pieces after firing?
Where will you store kiln furniture?
Answer those questions before you position the kiln.
Plan for Kiln Furniture
Your pottery kiln setup needs more than the kiln itself.
You will also need shelves and posts that fit the chamber.
If you purchase a used kiln without furniture, measure the chamber carefully before ordering replacements.
Do not assume that a shelf will fit simply because its advertised diameter sounds close.
You need appropriate clearance around the shelf.
You also need enough posts to create stable levels inside the kiln.
Our kiln shelves and furniture category can help you estimate the equipment required for your setup.
Think about storage too.
Shelves take up space when they are not inside the kiln. Posts, stilts, kiln wash, cones, gloves, and other firing supplies need storage as well.
Create a Safe Loading Area
Loading a kiln becomes much easier when the surrounding workspace supports the process.
Give yourself a nearby surface where you can organize shelves and pottery before loading.
Keep fragile pieces away from areas where people frequently walk.
Arrange your kiln furniture so you can reach it without moving heavy objects.
A good workflow reduces unnecessary handling.
That matters because freshly glazed pottery can break easily.
A crowded workspace also increases the chance of knocking shelves, posts, or pottery into the kiln.
Think About Heat and the Room
Your kiln produces substantial heat.
The room therefore needs to handle the operating environment.
Consider the temperature around the kiln, nearby materials, airflow, and the manufacturer’s clearance requirements.
Do not place storage boxes, paper, fabrics, or other combustible materials directly beside the kiln.
Keep the area around the equipment organized.
A clean installation makes problems easier to notice.
For example, you can quickly see damaged wiring, loose components, or unusual debris when the area around the kiln stays clear.
Keep the Electrical Panel in Mind
Your kiln does not exist separately from the rest of your home.
A large electric kiln can add significant demand to your electrical system.
That makes the capacity of your service important.
You should know the kiln’s maximum amperage before installation.
Then ask whether your existing electrical service can support the additional load alongside your home’s other major appliances.
A qualified electrician can evaluate the situation.
Do not rely on the fact that another large appliance already uses a similar outlet.
The circuit configuration and electrical load still matter.
Consider a Kiln Vent Before Installation
Adding a vent later can create more work.
Therefore, think about ventilation before finalizing the kiln location.
A properly planned vent system can influence where you place the kiln, where you route ducting, and how you arrange the surrounding workspace.
If you plan to install a downdraft or other mechanical vent, check the manufacturer’s installation instructions before drilling or modifying the kiln.
Do not copy a setup from social media simply because it looks straightforward.
Your kiln may have different requirements.
Your room may also have different ventilation limitations.
Keep a Kiln Log
A kiln log costs almost nothing and can become one of your most useful pieces of studio equipment.
Record the date.
Write down the firing type.
Record the program or schedule.
Note the cone.
Add unusual observations.
You can also record maintenance such as element replacement, thermocouple replacement, controller issues, and repairs.
A kiln log gives you a history of the equipment.
That history becomes valuable when firing results change.
Instead of asking, “When did this start happening?” you can look back through previous firings and identify patterns.
Use Witness Cones
Digital controllers make firing much easier, but witness cones still provide valuable information.
They show the heatwork experienced inside the kiln.
That information can help you confirm whether a firing behaved as expected.
Cones can also reveal differences between areas of the kiln.
If one area reaches a different heatwork level from another, the cone results can help you investigate firing uniformity.
For a new kiln owner, learning how to use witness cones is one of the easiest ways to become more confident with firing.
Keep Maintenance Accessible
Your pottery kiln setup should make maintenance practical.
You need to inspect heating elements.
You may eventually replace a thermocouple.
You may need to clean or service components.
The controller may eventually require attention.
If the kiln sits in a cramped corner surrounded by storage, every maintenance task becomes harder.
Leave enough working space from the beginning.
A few extra feet of usable space can make years of kiln ownership much easier.
Avoid These Common Setup Mistakes
Several mistakes appear repeatedly among new kiln owners.
Choosing the location before checking electrical requirements can create an expensive installation problem.
Ignoring ventilation can leave you with an inadequate studio environment.
Crowding the kiln against a wall can make maintenance difficult.
Buying shelves without measuring the chamber can result in the wrong furniture.
Placing combustible storage next to the kiln creates an unnecessary hazard.
Skipping the manufacturer’s installation instructions can also cause problems.
The solution is simple.
Plan first.
Buy second.
Install third.
Fire last.
What You Need Before Your First Firing
Before you fire your new kiln, make sure you have more than pottery.
Your basic setup may include kiln shelves, posts, witness cones, kiln wash, appropriate tools, heat-resistant gloves, and any manufacturer-recommended accessories.
You should also have your ventilation and electrical installation ready.
Keep the kiln area clean.
Know how the controller works.
Read the kiln manual.
Understand the firing program you intend to use.
If you purchased a used kiln, inspect it carefully before the first firing.
Our guide to buying a used pottery kiln covers the inspection process in more detail.
Final Thoughts
A good pottery kiln setup starts long before the first firing.
Choose the location carefully.
Confirm the electrical requirements.
Plan ventilation.
Protect the surrounding area.
Leave enough working space.
Buy the correct kiln furniture.
Keep a maintenance log.
Most importantly, follow the manufacturer’s installation requirements instead of copying another potter’s setup.
Every studio has different electrical service, room dimensions, flooring, ventilation, and local requirements.
A well-planned installation gives you more than a place to fire pottery.
It gives you a workspace that is easier to maintain, easier to use, and much easier to trust.
Take the time to get the setup right before firing your first load. Your future self, your kiln, and your pottery will benefit from it.

Pingback: Best Electric Pottery Kiln in 2026: What to Buy